And Then There Were Walls

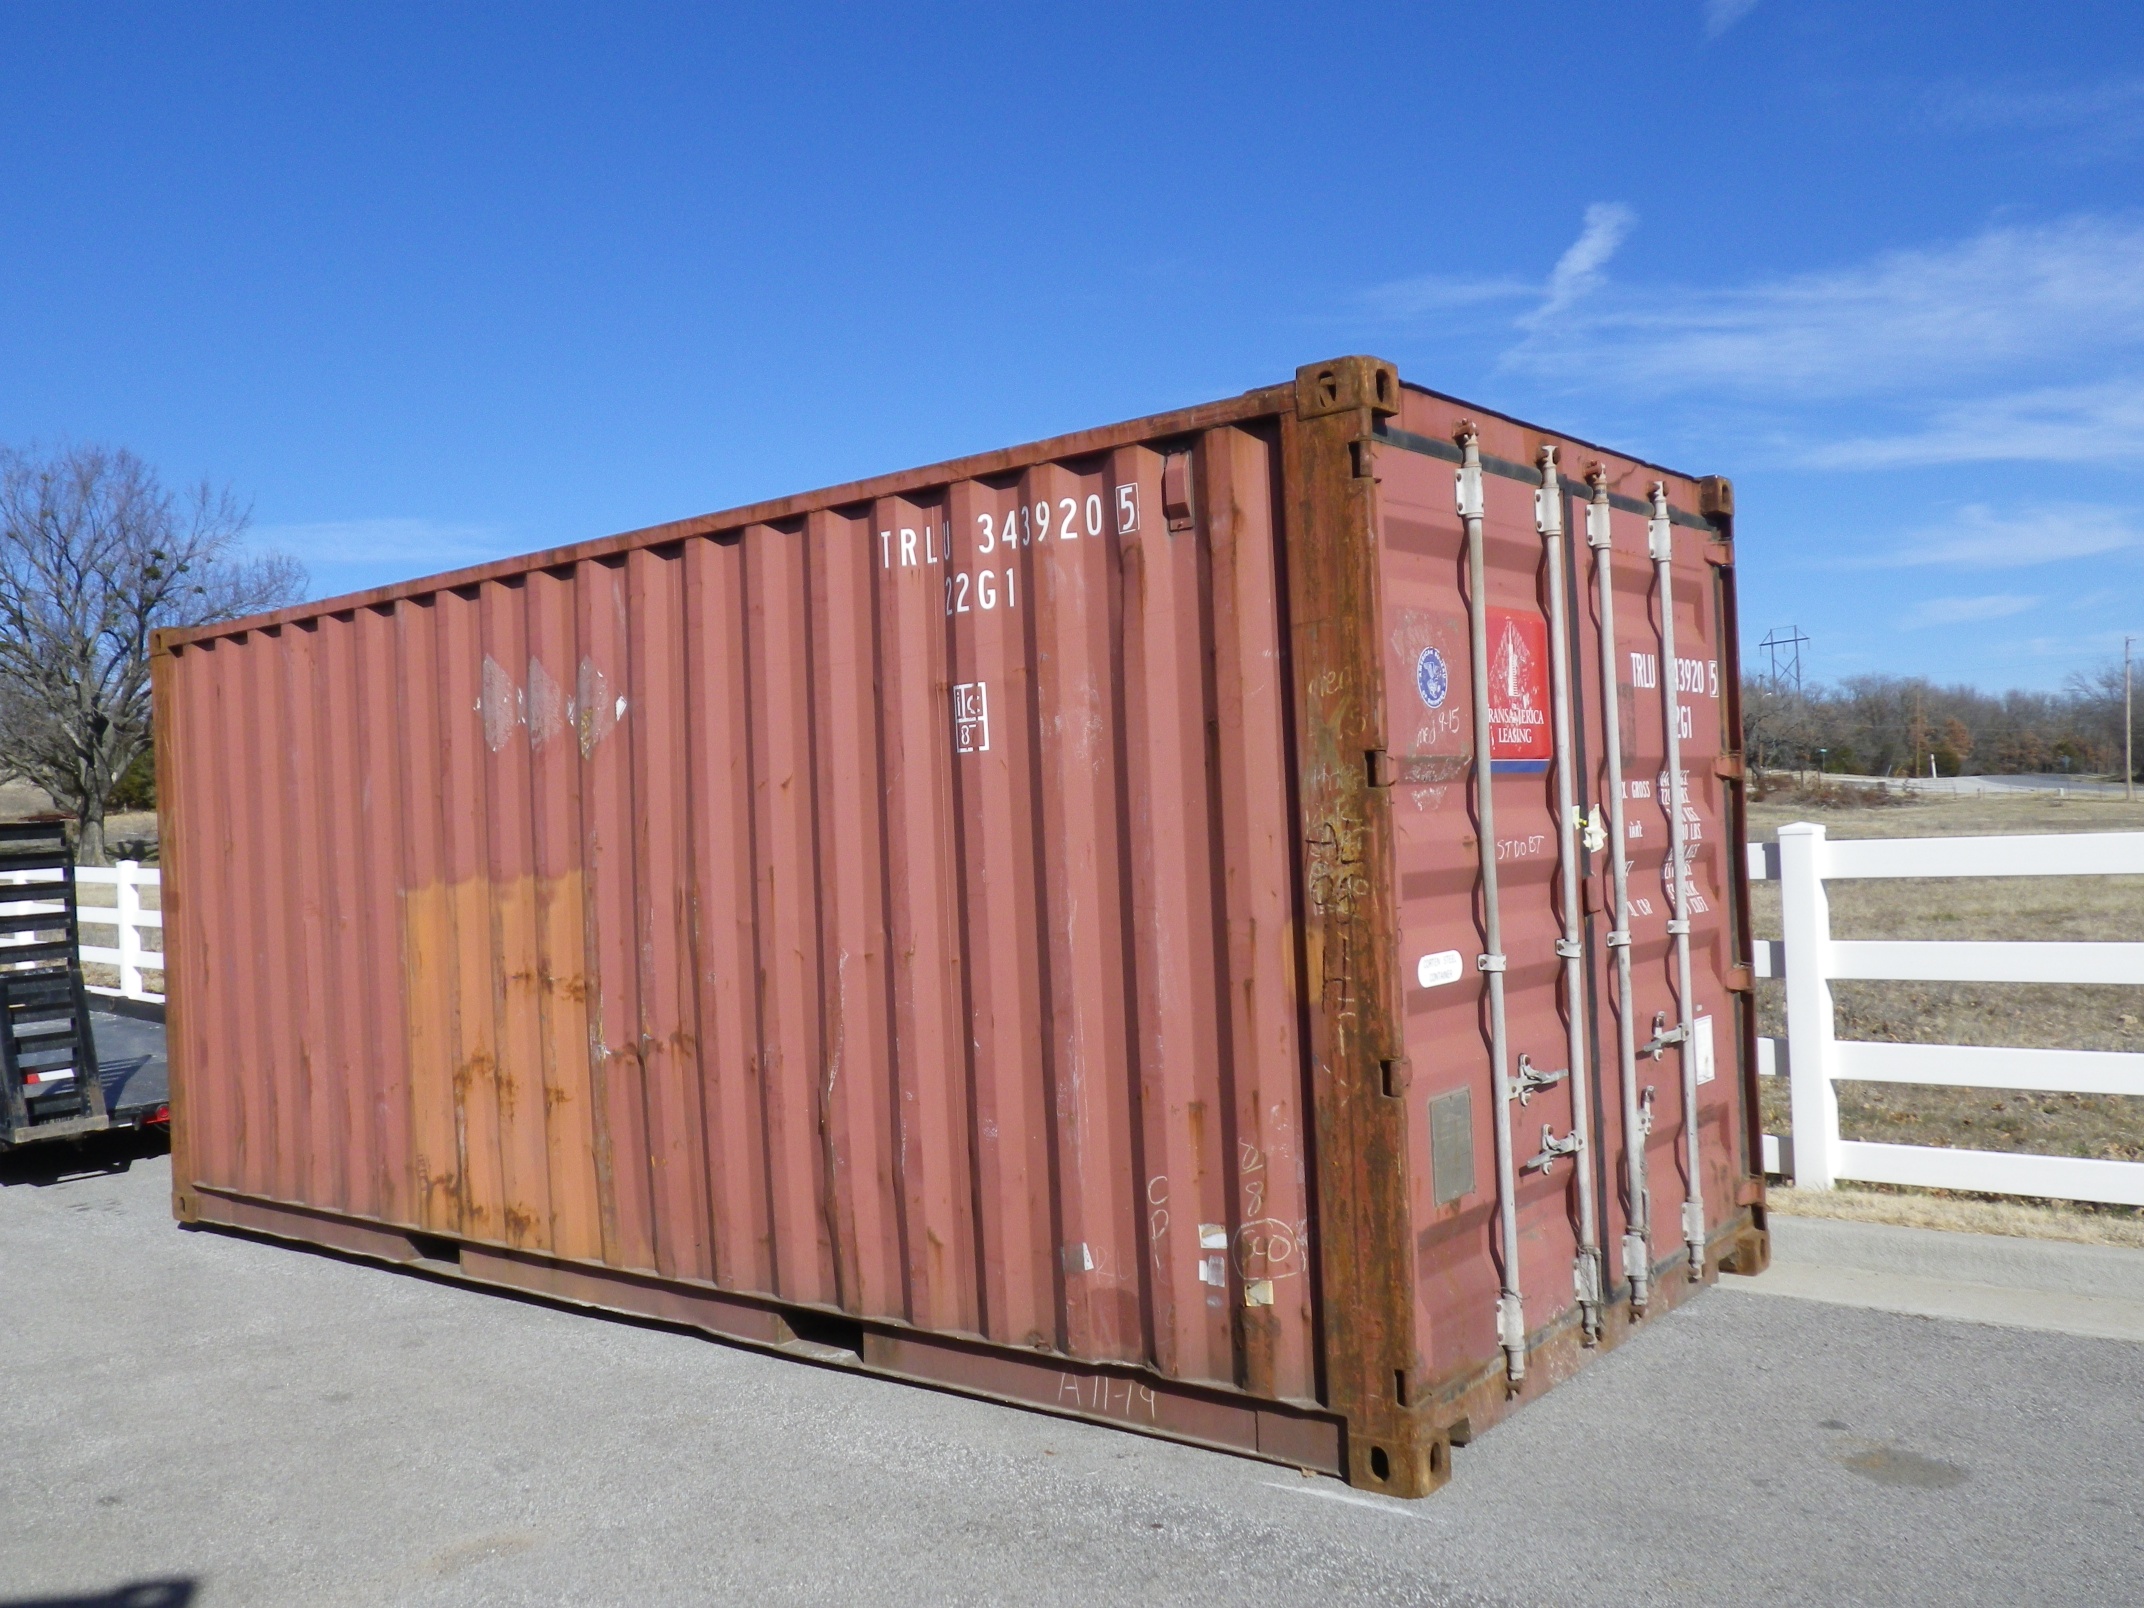
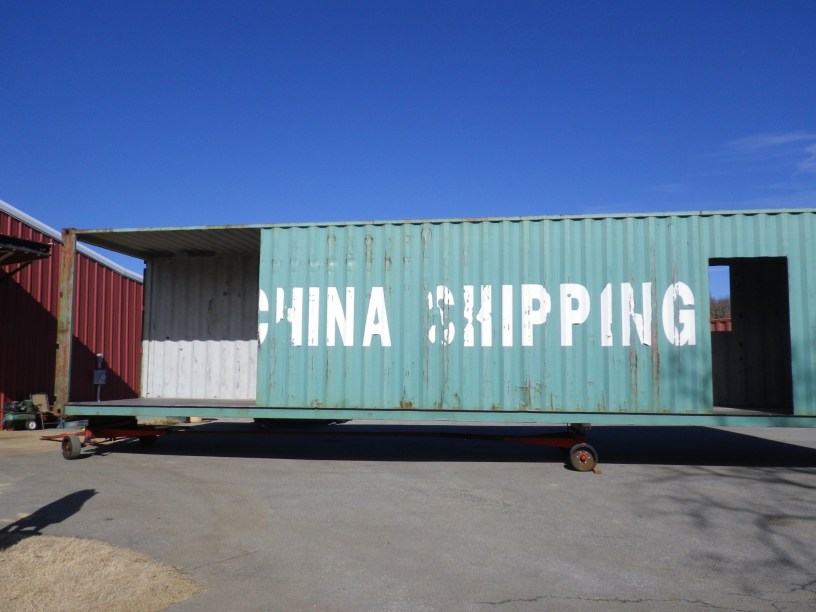
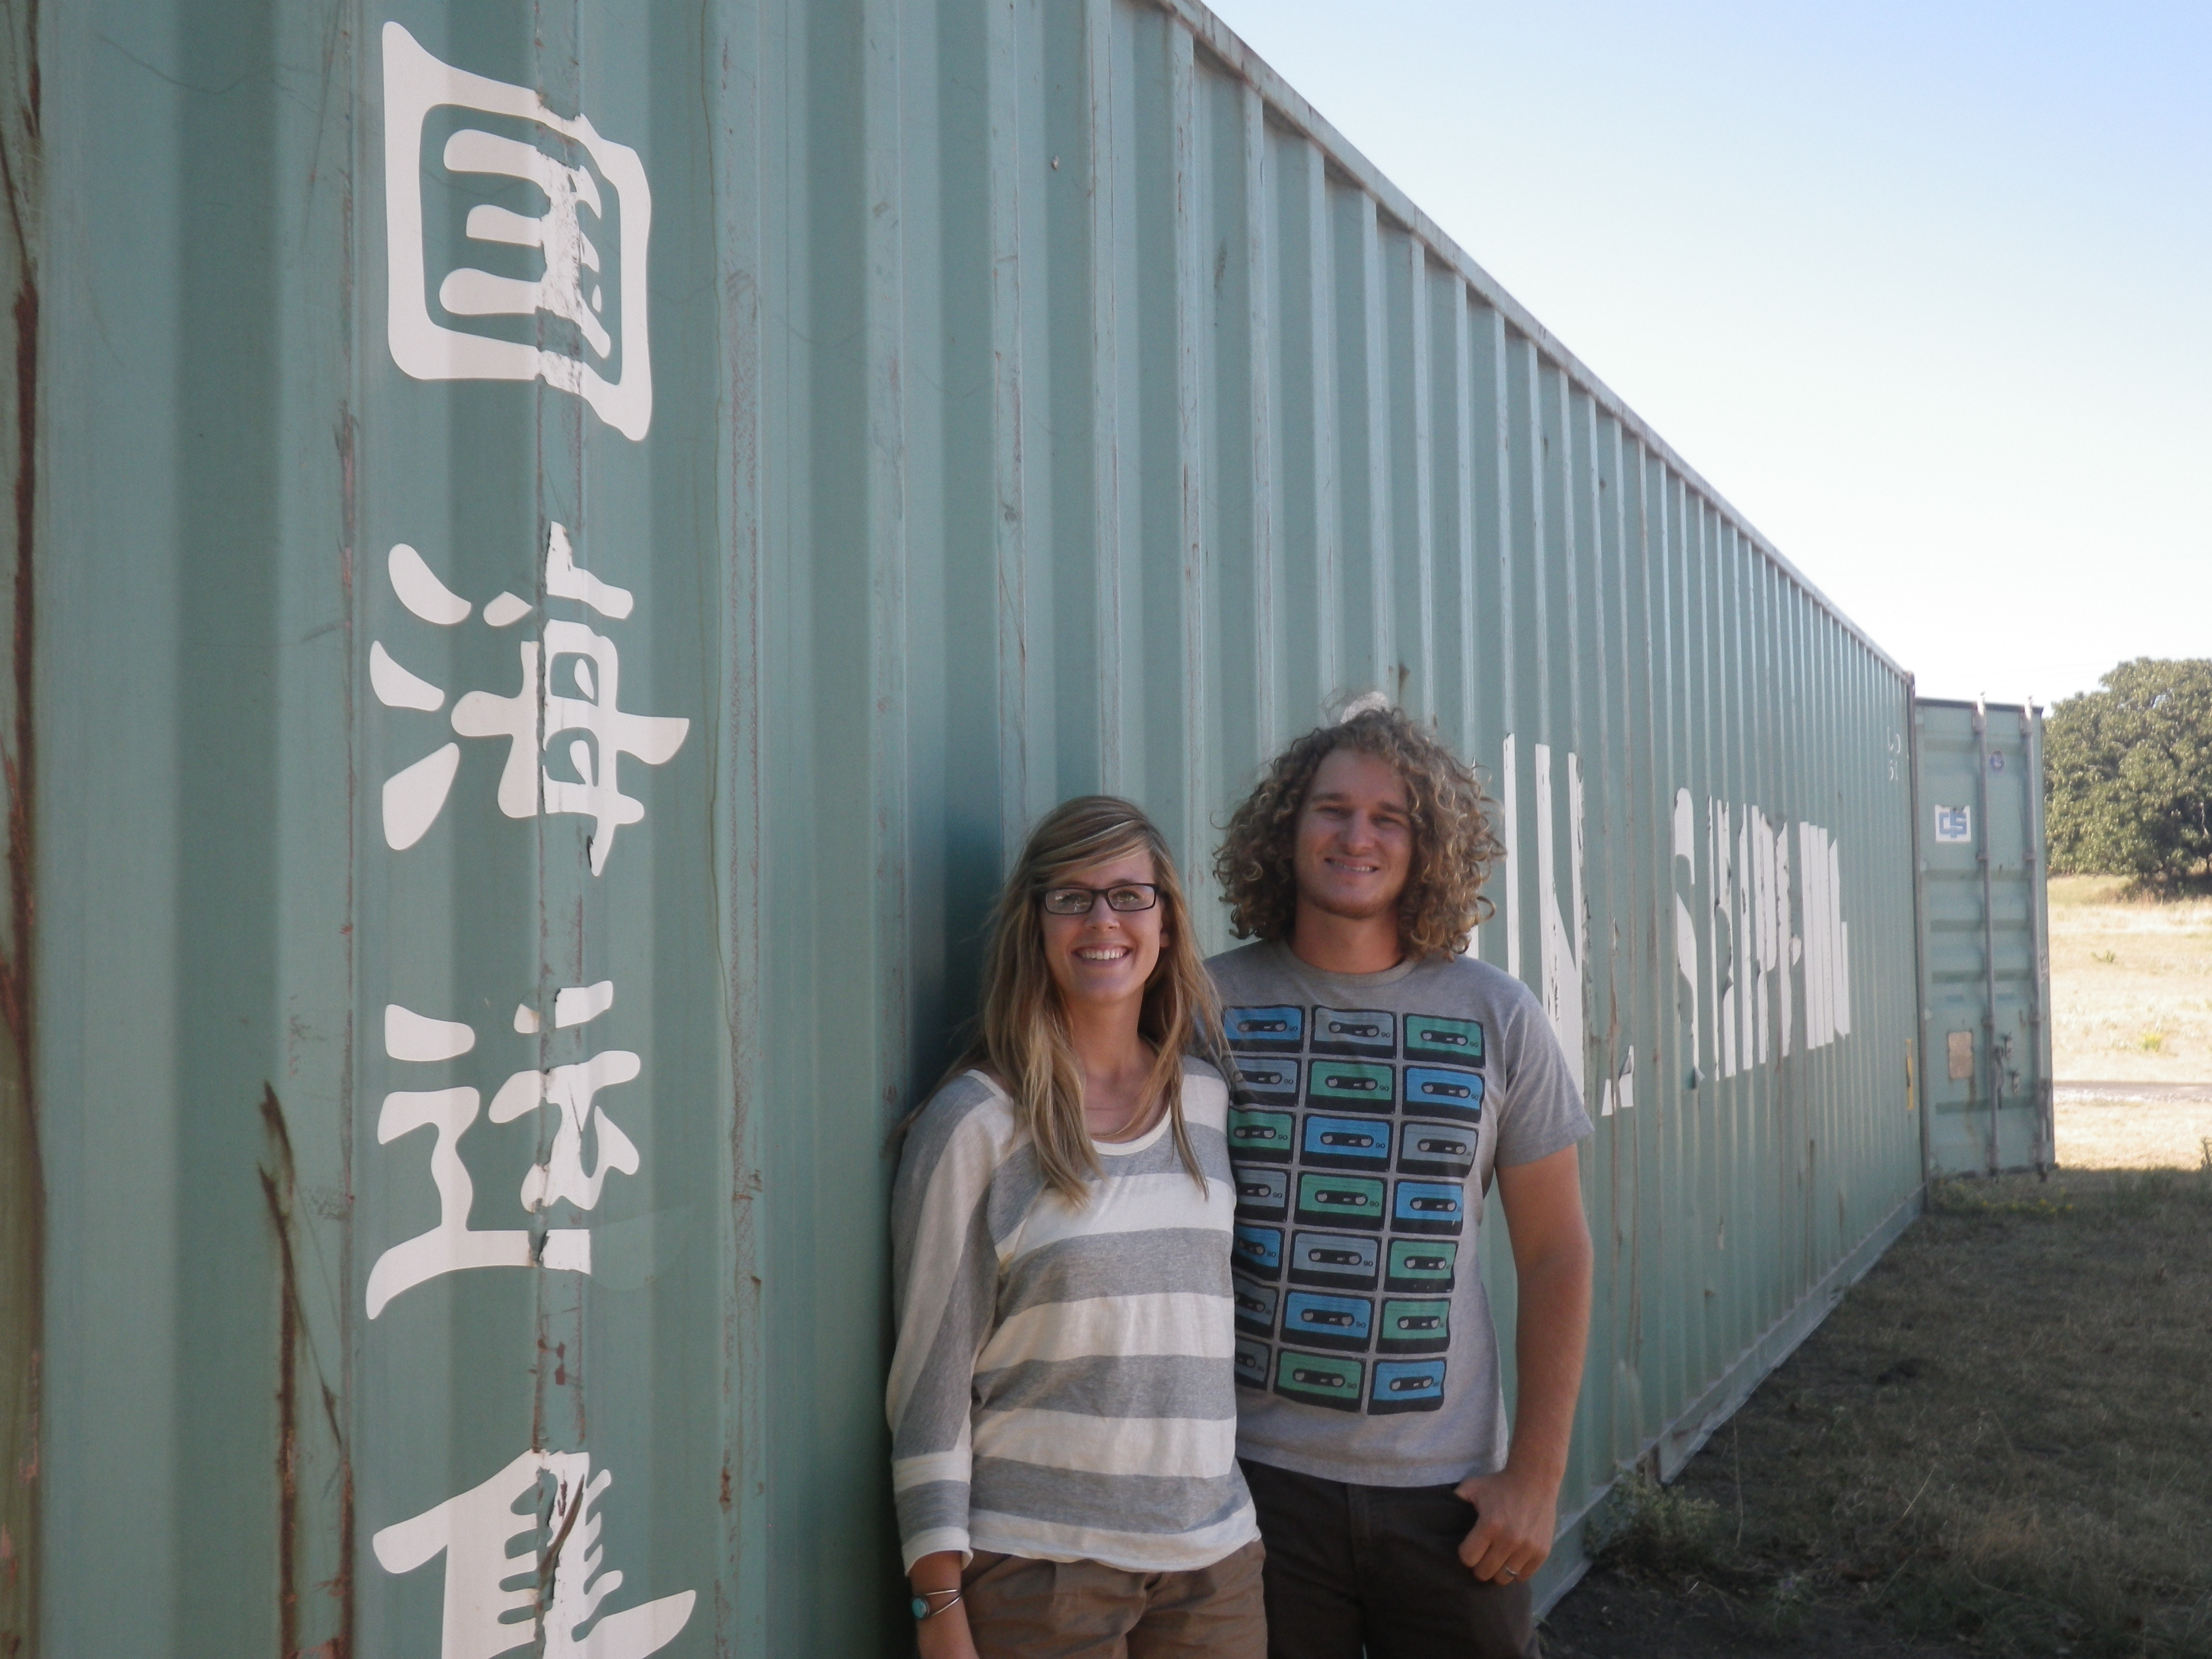
What’s a house without walls? Ours in this case would be a cut up shipping container not fit to live in. But with a little hard work and some metal studs, a shipping container becomes a home.

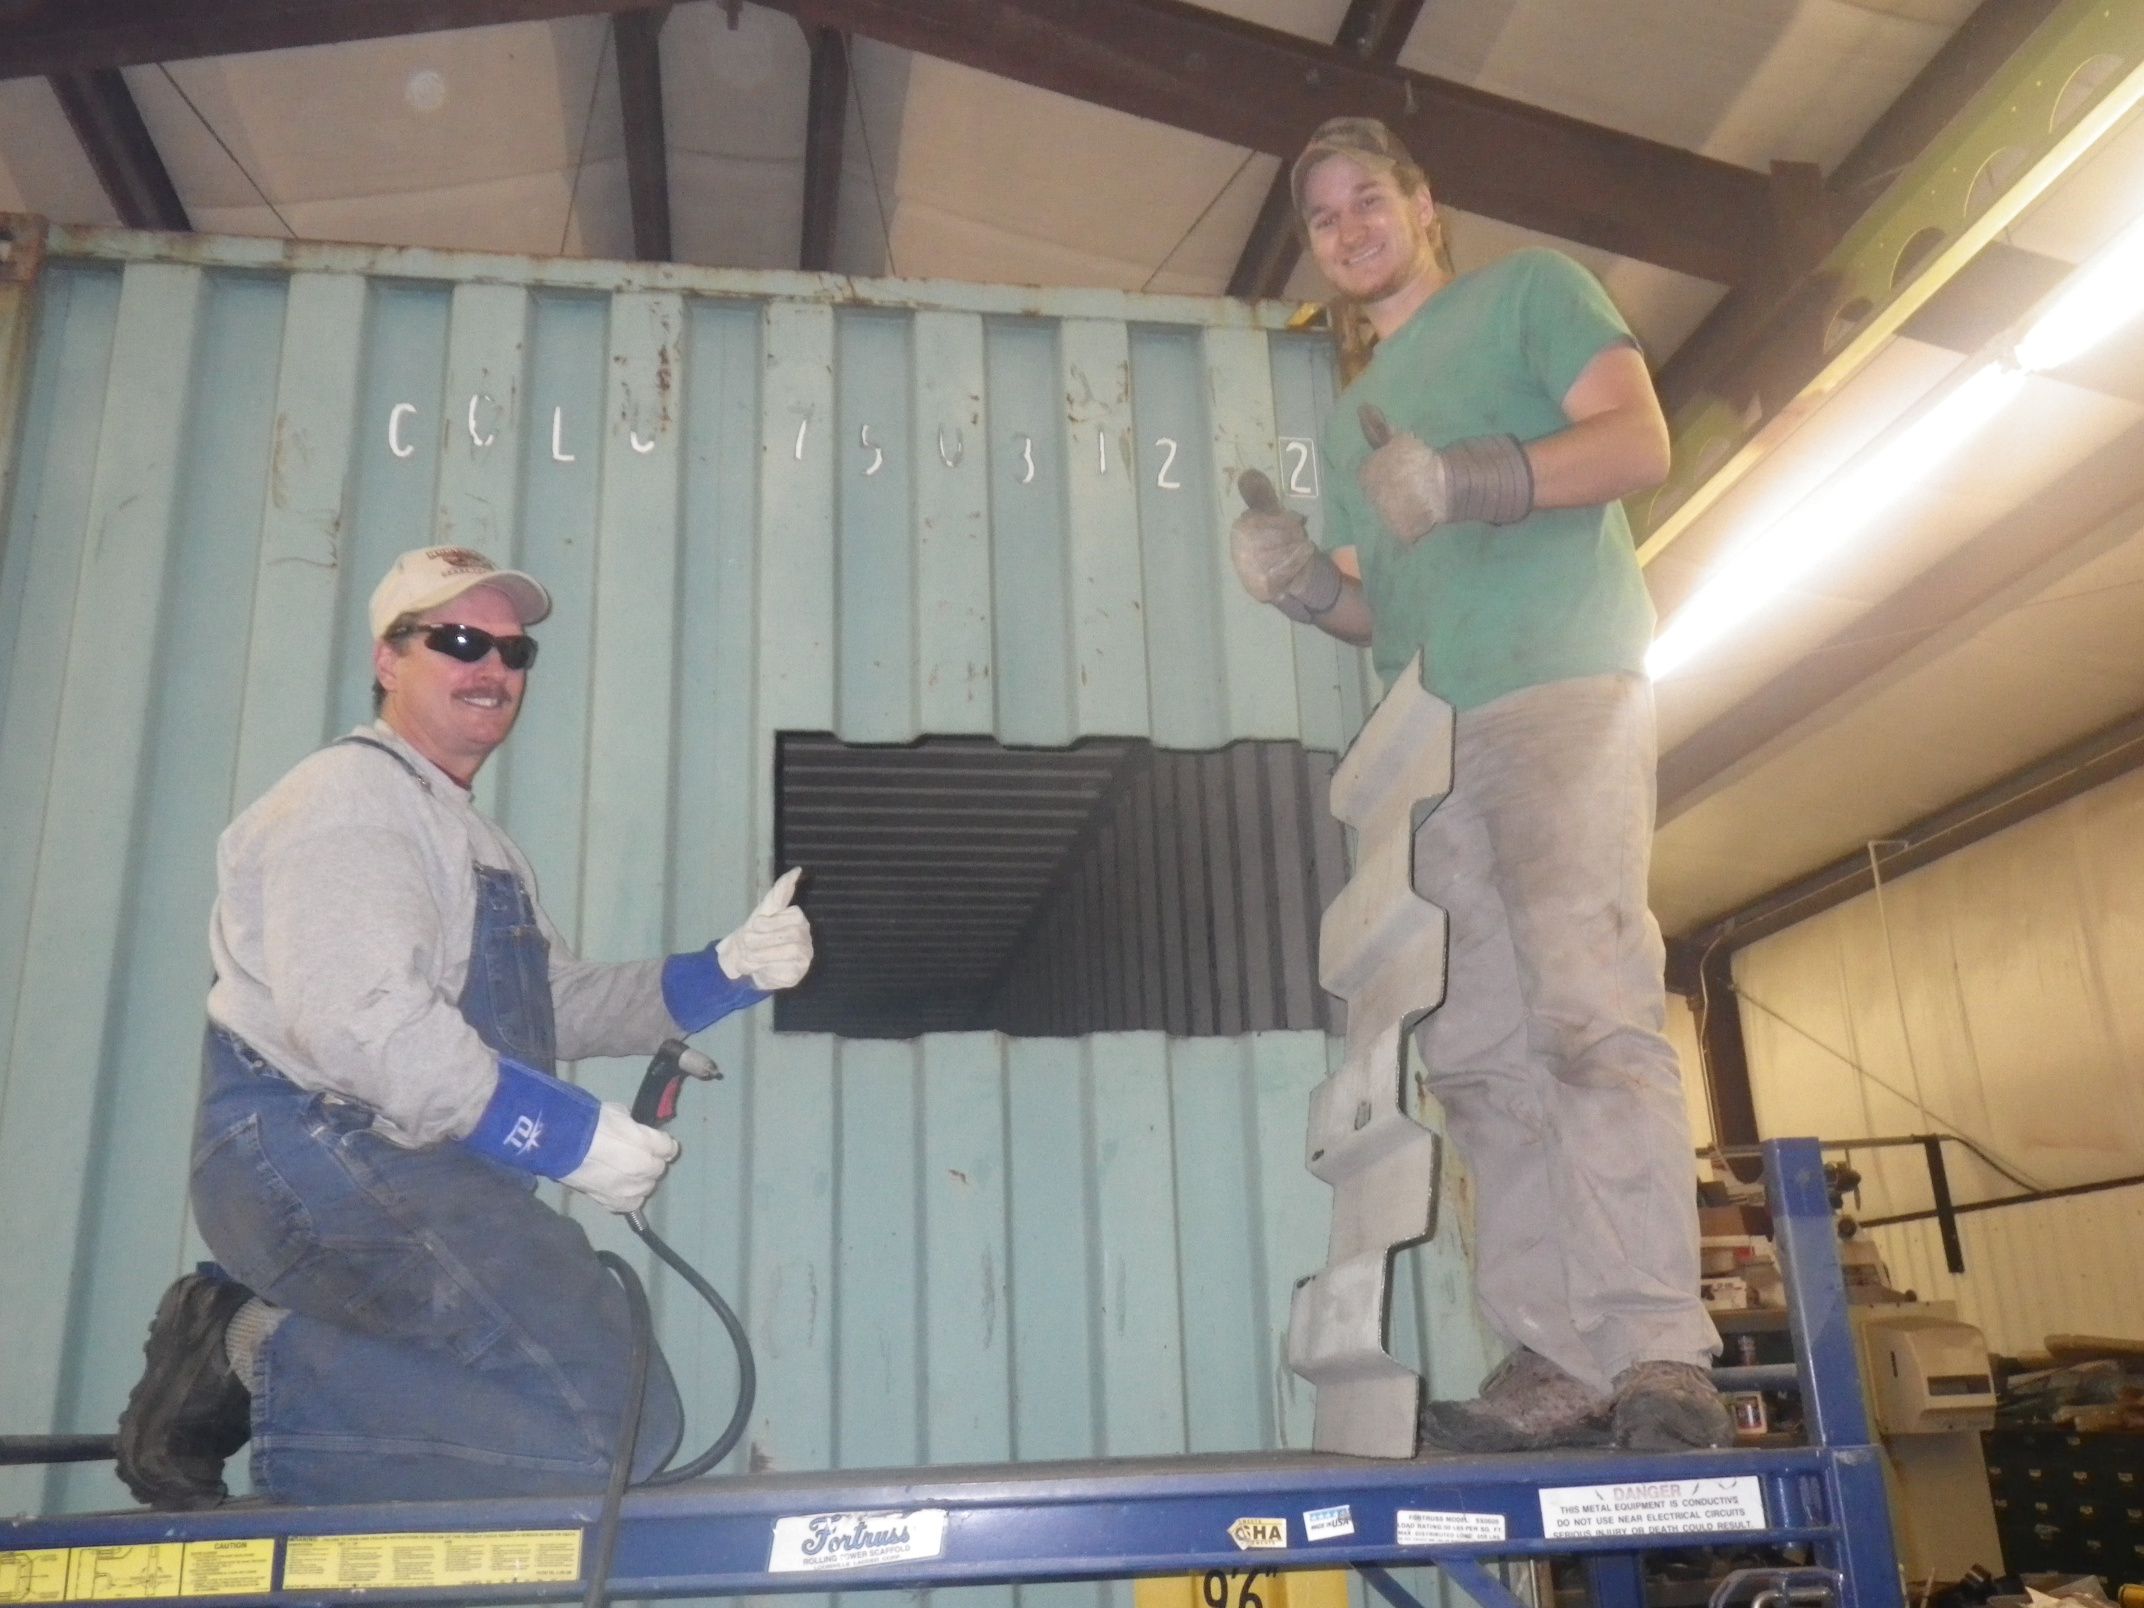
The walls were installed over a few nights, courtesy of Tyler and Kent Bright, and with a little help from our friend Ben Belden. Our first container now has the bones of a true house, and the final product is now becoming visible. The walls were installed for our closet, our shower, and the end wall where the original doors were removed.

We used metal studs, not only because they are stronger and straighter than wood, but they are 100% recycled, and 100% recyclable. Using metal studs will also give us fire protection, termite protection, and hopefully save a few precious trees in the process.

Now down to the nitty gritty..

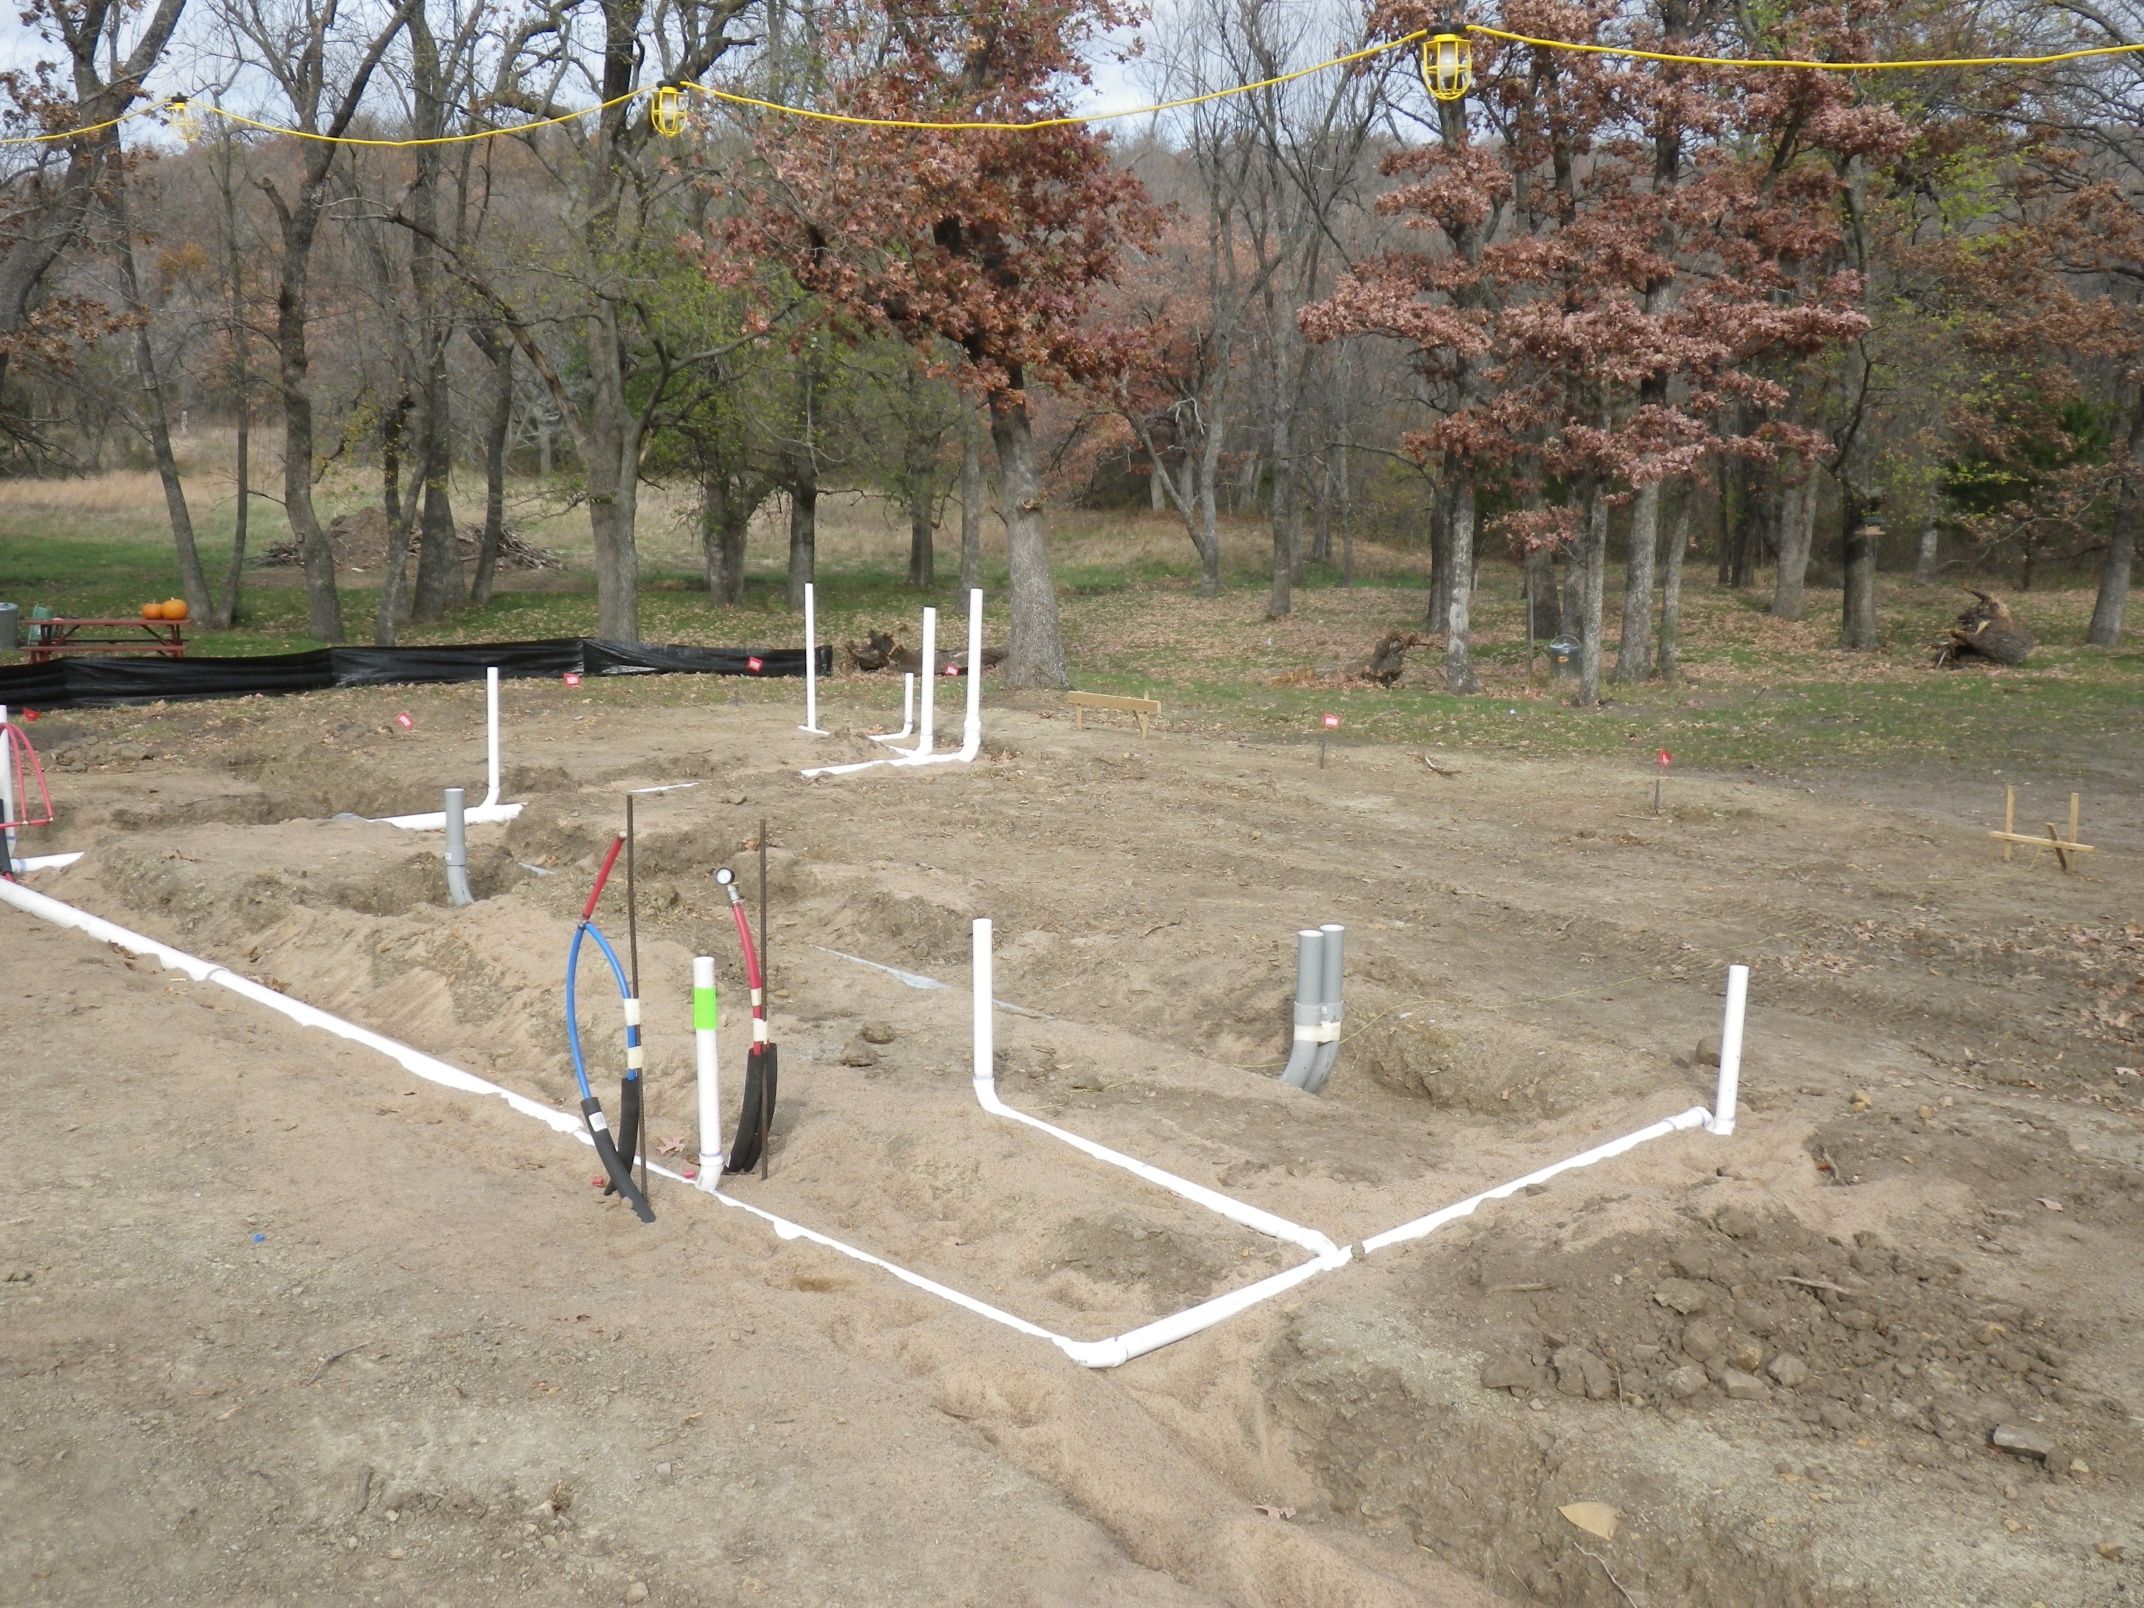
We used 3-5/8″ studs for all the walls in our master suite, besides the bathroom, where we used 6″, to leave space for the bathroom plumbing.

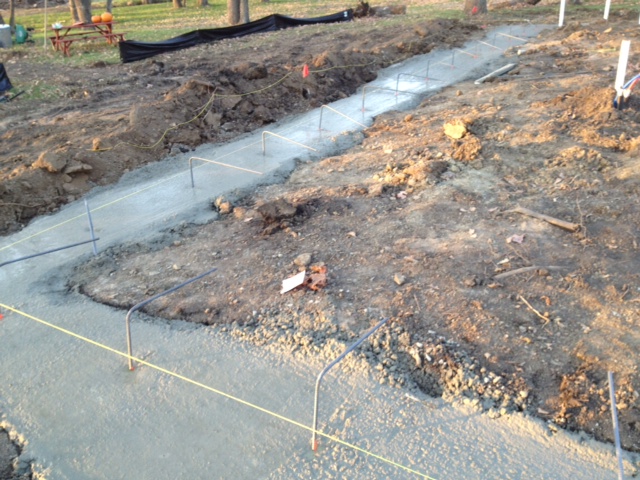
Here are our shower walls:

IMGP9226
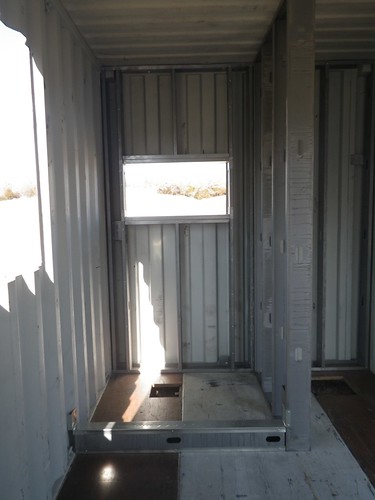
The hole in the floor will become our shower drain, and the floor in the entire bathroom will be tiled over.

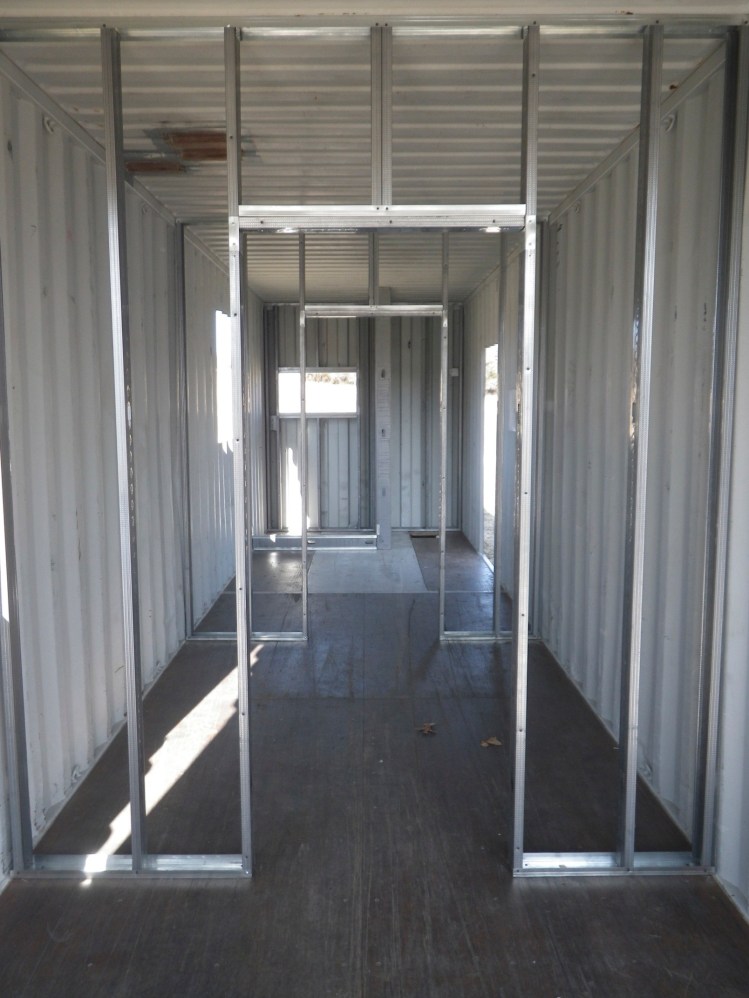
His and Her walk-thru closet:

IMGP9229

The walls in our closet will be metal as well as the ceiling. To finish it out we will put a nice coat of paint on the walls, add some closet storage and refinish those awesome teak floors. We will also install a $5 vintage light fixture we picked up at the flea market this weekend.

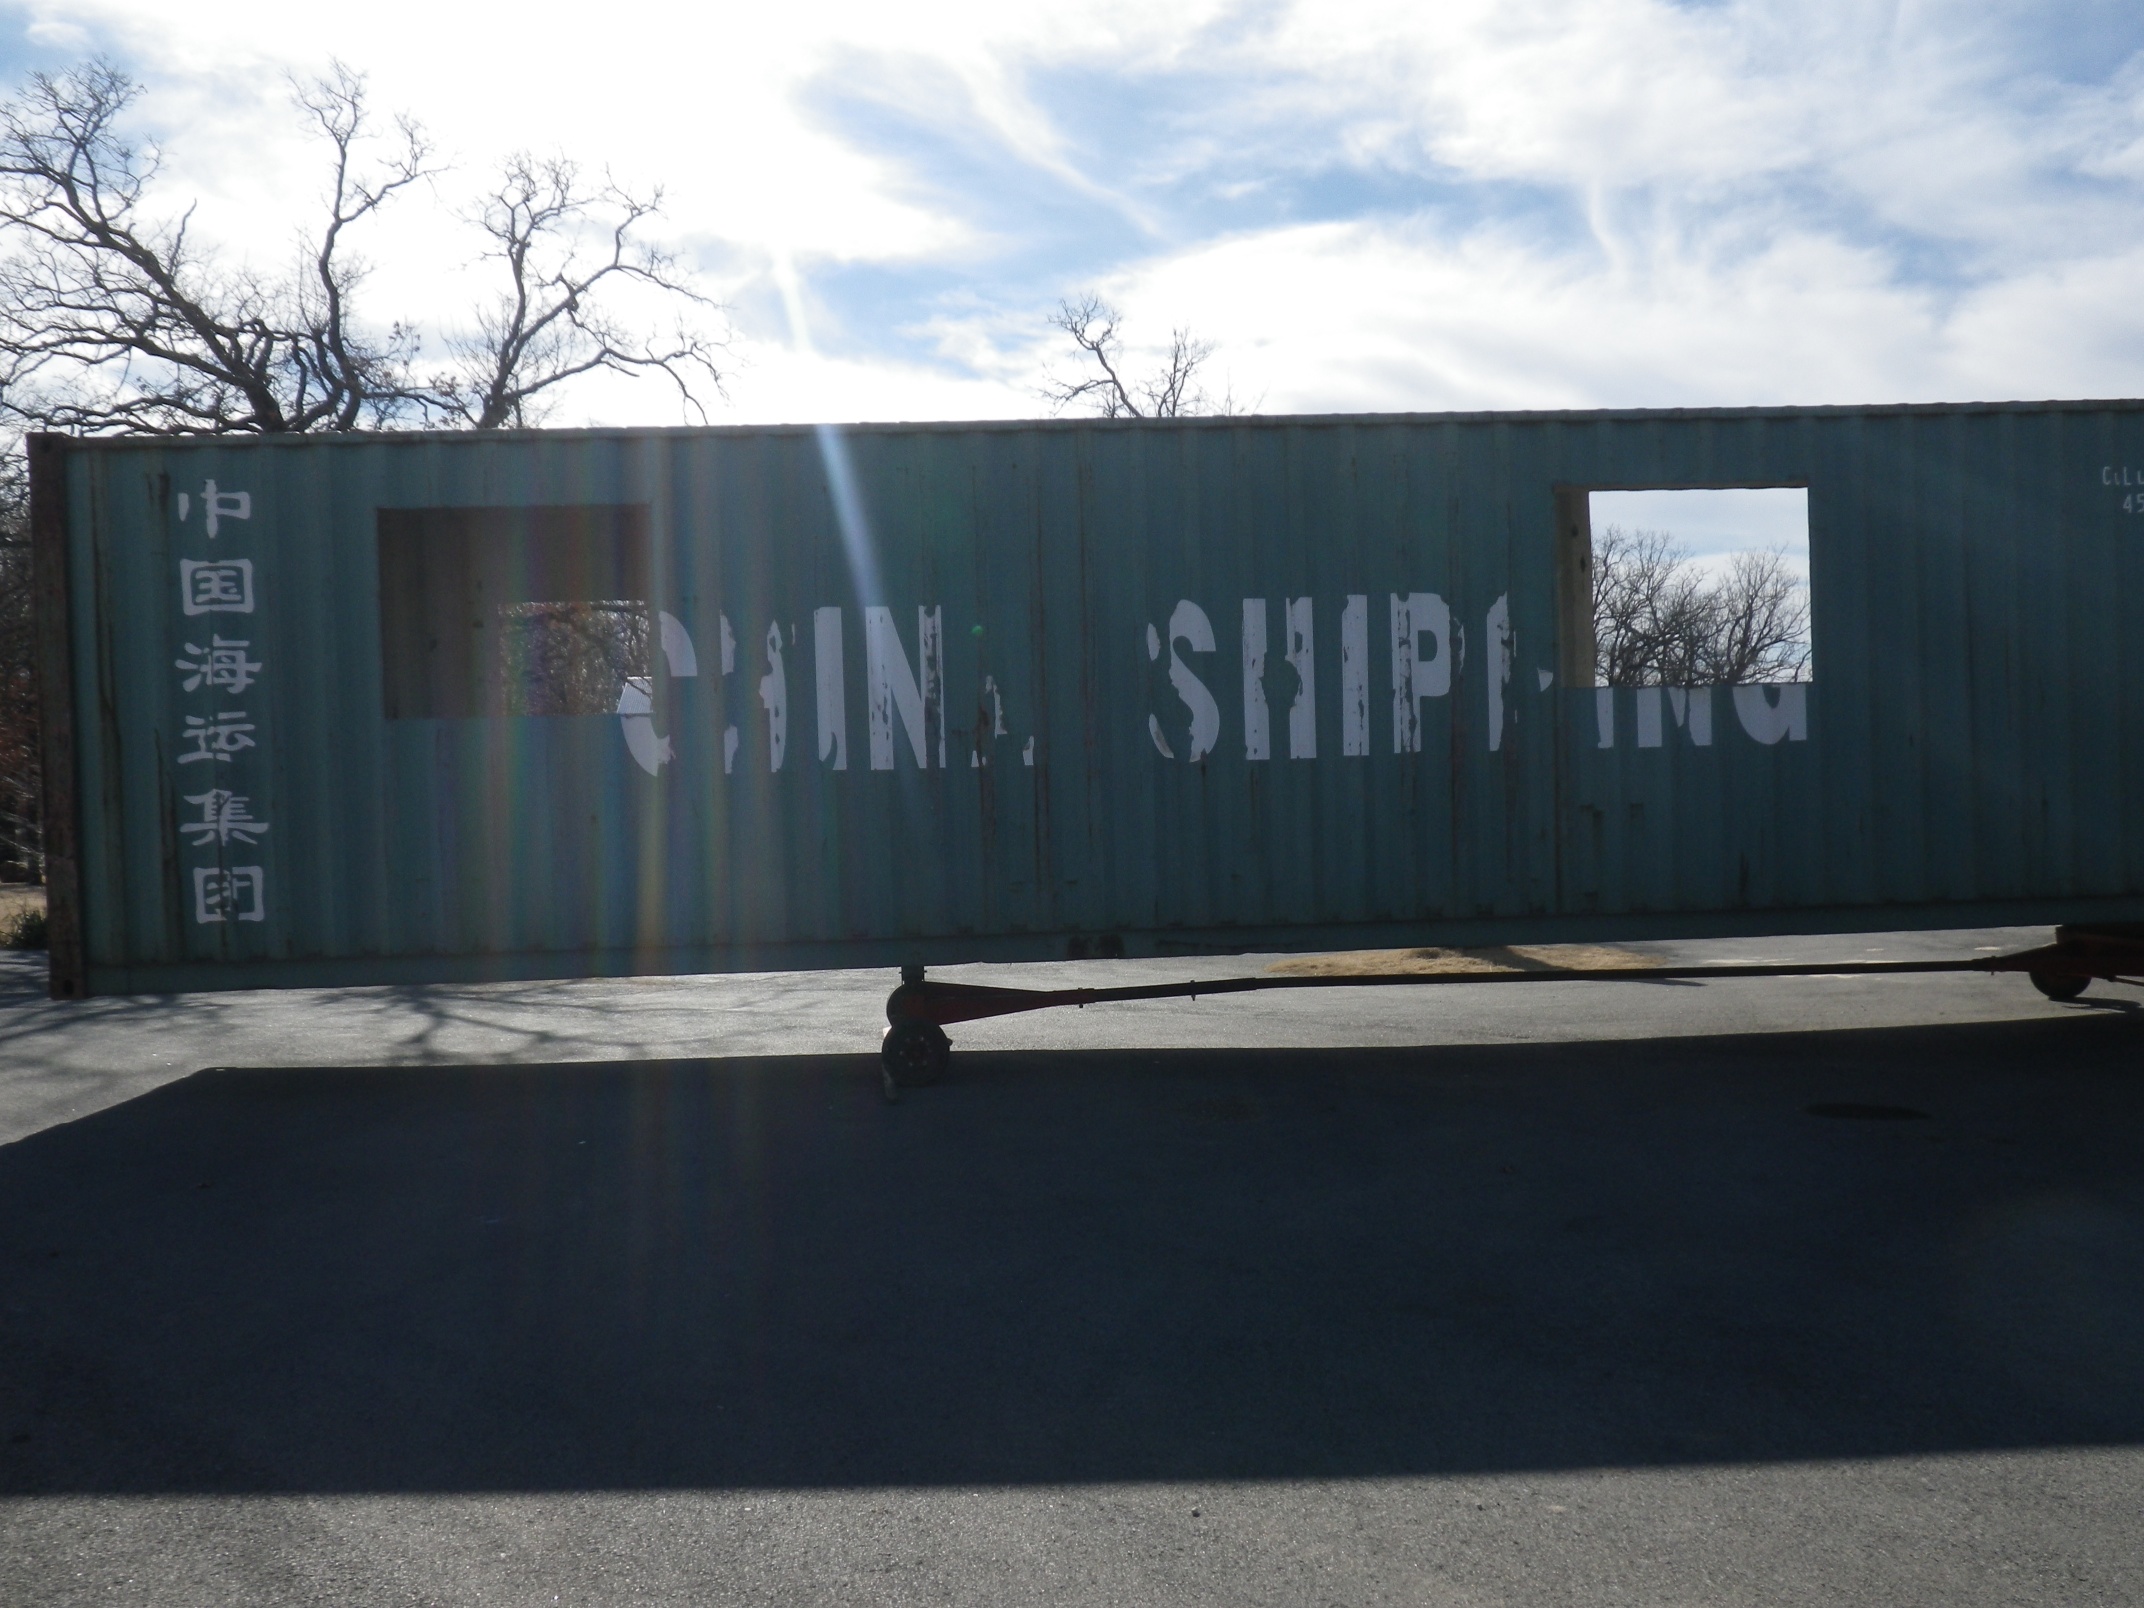
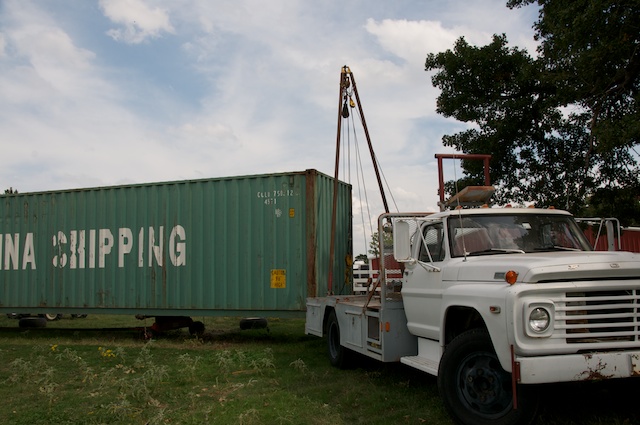
The master bedroom (the truck will not be our view from our newly framed out window):

IMGP9230

There was also a hole cut in the bathroom floor for the toilet, and I know you really want to see it… so here it is:

IMGP9228

So there you have it, we officially have walls in our master suite!

There is still a lot of work to be done on this container, including cutting holes for the HVAC system and also the finishing touches, such as: drywall, refinishing the floors, tiling the bathroom floors and shower, installing bathroom fixtures and painting the walls and ceilings. But those will not be completed until the house is “dried in”, which will be after all 5 containers are placed on the slab and connected. But for now this container will probably not be mentioned again until it is on the slab!

Numero Dos

Our second container arrived on January 25th, and construction on the container should start sometime this week! This container will become our downstairs entryway, mudroom, utility room and office.

_DSC9215

IMGP9232

IMGP9233

This container’s last cargo haul, is not a mystery, unlike our previous container. The shipping list from its last voyage is still attached to the door. It hauled furniture, 22 chocolate brown sofas, 16 love-seats, 9 chairs, and 6 ottomans, to be exact. Thats more furniture than we will probably have in all five of our containers!

IMGP9223

Our next post: “And Then There Were Walls” – COMING SOON!

Kitchen Cabinets circa 1940

Hannah Bright reporting

Our kitchen cabinet project is in full swing, just like the music of the day when our 1940s Youngstown steel metal cabinets were built.

Tyler and I purchased them from a couple in Stillwater. The cabinets had come out of some old apartments located above a post office in downtown Stillwater. We scored 3 sinks, 6 base cabinets, and numerous large and small upper cabinets. Tyler’s mom, Sheilah, utilized one of the sinks in their party barn, and the other two will be installed into our home. One will be placed in the mudroom, as well as some upper cabinets for laundry room storage, and the other sink and some of the additional lower and upper cabinets will be installed in our kitchen. We plan on mixing our old metal cabinets with new stained wooden cabinets to complete our dream kitchen. Check out our Youngstown steel cabinets in their prime in this old magazine add: (Click to enlarge)

Reality check:  Our kitchen cabinets currently look like this:

In order to refurbish the cabinets, they must first be sandblasted, which I am currently working on. Next,  they will be primed and painted (which we plan on doing ourselves), and the cabinet hardware will be re-chromed. There are original stickers on the inside of the cabinet doors, but they are going to be hard to salvage during the sand-blasting process. Instead, Tyler is going to recreate them and have them printed. Here are pictures of the first cabinet I sandblasted, before I realized I needed different work clothes and a better work space:

Here is what I have learned about the Brights: They like to do things right, which sometimes means building or buying stuff to get the job done Bright. I’m happy to call this 20ft container my new sandblasting space, it allows me to collect and reuse the sandblasting media. After we are finished sandblasting, this will become our painting space as well.

Tyler and his dad Kent, added lights and a exhaust fan to our sandblasting/painting container, making the process a little less horrible. Plus, it not only helps keep me warm on cold winter nights, it also gives me a nice golden tan.

Our kitchen cabinet project will be a long process, with many more steps ahead. So keep watching and I will update as we go.

Dangers on the Job: Not for the Faint of Heart

Hannah Bright reporting:

While working with power tools, there is always an element of danger. So far both Kent and Tyler have experienced that. Let’s just hope that I’m not next. Tyler’s run-in with a grinder wins the worst-looking award.  It happened while he was grinding the openings, using a nine-inch grinder to smooth things over. The grinder hit a sharp spot, broke the buffing pad and kicked back and hit him in the face. The scene in the shop where it happened looked like a small animal was murdered there. The doctors said it was a false burn that took off a whole layer of skin. With some TLC, the doctors said it will not scar, but may be discolored until fall. Thanks, Dr. Paulsen and nurse Glenda Bullock for checking it out. Let’s hope this is the last microdermabrasion incident of the project.

Like son, like father. Kent’s grinding war wound actually had happened a few days before. He was wielding a 4-inch grinder with a cutting wheel attached. When Kent turned on the grinder, it kicked and twisted in his hand, cutting his finger Luckily, he was wearing gloves. But this cut didn’t stop Kent, even though it most likely needed stitches. He  just taped it up and kept on working.

Lesson learned: I’m not touching a grinder.

The Beginnings of our Master Suite

Hannah Bright reporting:

The first cuts were made in the container a couple of weeks ago, and our master suite is officially under construction.

Three windows and one door were cut out, as well as a large opening where our master suite will be extended.  The cuts were made using a plasma cutter. Here are Tyler and Kent showing off our first window:

Here is the large opening in our master bedroom. We will  build metal stud walls to enlarge the space. The other opening is for our bathroom door:

Here are the rough cuts for our bathroom and bedroom windows:

Once the cuts were finished, Tyler and I used a grinder to smooth and buff the openings. For the first time in my life, I used a power tool. Yeah, check out these photos:

Here’s Tyler doing his daily grind:

The next step after using the grinder was to power wash the interior walls and ceiling, using an industrial strength soap called Dynamite. This was one tough cleaner so it required another wardrobe change.  Here I am with my rubber shoes, dust mask, goggles, face shield, rubber gloves and a “hazmat” suit, as I like to call it. (I decided after that experience, I’ll let Tyler take the next one.)

The next steps to complete our first container are:

  • Cut holes in the ceiling for the HVAC system
  • Cut out the bathroom floor to run plumbing and to lay tile
  • Frame in the doors and windows
  • Build the non-load bearing walls for the closet, shower and where the original doors were removed

Installed, Inspected & Approved!

Hannah Bright reporting:

There are many steps involved in building a house, which is obvious, but what I didn’t know was that there are so many steps within each step. For example, before you can lay a slab, you must first have a pad, which is, in a nutshell, dirtwork to make the site level. Plumbing and electrical must then be installed and inspected. The footings must be dug and the rebar placed before it can be inspected and approved so the concrete can be poured in the footings. Class A rock must then be brought in and laid on top of the pad, which must be sprayed for termites (who would have thought termites could be an issue in an almost exclusively metal dwelling?). The stove’s downdraft and the floor electrical receptables are then installed, and then finally the slab must be formed and then poured. With all of that said, there has been some major progress on the Bright container house. The progress includes:

1.) 1,300ft of water line was trenched and placed, as well as 800ft of electrical installed,  600 above ground, 200 trenched and placed underground- (we didn’t want to tear out any trees in our new devotion to protect our natural environment)

Water line:

Electrical:

2.) The plumbing and electrical has been installed, inspected and approved underneath the slab.

3.) The footings were dug, rebar put in place and the concrete poured. The rebar and footings were inspected and approved.

4.) Class A rock was put on top of the pad, which was sprayed for termite control.

5.) The forms were built for the slab, and rebar and a vapor barrier were installed.

6.) The slab was officially poured on the 8th of December!

7.) Saw cuts, or relief cuts, were made in the cement to protect the slab from cracking. Since the slab will be our floor in our main living area, Kent and Tyler decided to add some character. Instead of filling the cuts with grout, they came up with a great idea to fill them in with aluminum, which will be flush with the floor. It will add a little metallic flair to the floor and room.

8.) Last but not least… The first, of five containers, is officially in the shop! Which means… Cutting on the container will soon happen! (it has actually started, but that’s a different post for a different time)

Progress…

Hannah Bright reporting:

I decided to do one post about our recent progress. Lots of small, but important steps have been made.

1. We needed a trailer that was long and strong enough to move our containers into the shop to be worked on. So Tyler and his dad Kent modified an agricultural wagon. They removed the wooden top and extended it to 30ft long. The wheels that were on it were too large and made the container and trailer too tall to fit it into the shop, so they went digging in the dumpster at a forklift repair shop and found some heavy forklift wheels for no cost. They then made their own hubs and welded them into the wheels.

The wheels before:

The new wheels:

2. While adding a snatch block, a pole on the gin pole truck bent and needed to be fixed. So by the gracious efforts of our Grandpa Charley and Uncle Mark, the pole was fixed. They even came and fixed it while we were at work.

3. The water tap was put in place, now only about 1,500 ft of water line needs to be ran so we can officially have water at the building site.

4. Our driveway was laid, and the automatic gate at the road has been started.

5. We purchased a 20ft container that will connect to our carport and act as a mini workspace for Tyler.

6. Asphalt millings were laid for our carport.

7. The building pad was laid and cut for our electrical and plumbing.

8. The electric company came out and measured for the new poles to be put in place, and a work order has been applied for.

9. The aerobic septic system was installed.

Natural, Modern, Vintage

Shipping Container House Oklahoma

Hannah Bright reporting:

Some decisions needed to be made concerning the exterior materials of our house, so the cutting could officially begin. So Tyler and I went searching. Our original render was modern, using dryvit and metal siding. We both liked this idea, but decided to go with a more natural look to better fit in with our earthy surroundings. We chose a stone, inspired by some of our favorite mid-century modern homes, and cement board cedar shakes, to give it a natural look with a retro flare. The end result = glorious success, if I do say so myself.

Next Step: Cutting the containers into a home.

Anchors away

She’s been to China and back. Somewhere along the way, she spent some time in Honduras so 67,200 lbs of either coffee or bananas likely called her home first.  Our master bedroom wing has undoubtedly battled some rough seas in her former life as a China International Marine Container.

Oh, the stories that she could tell. Someone has hand-scawled “Honduras.com” on the inside. Every time that we give her a good look, we find another interesting life mark.  A ding. A rust bruise. Chinese letters faded on her side. We’ve decided to preserve a few of our favorites and use them as wall art.

We are working with Cisco Containers in Tulsa to obtain these steel building blocks that will become our home. We took possession of our first 40ft x 8ft container on Sept. 14. Our current plan is to get them one at a time as we need them for construction, but we’re flexible. We ordered a 20ft by 8ft unit to work as our on-site building material storage. It will later become our garage workshop/carport.

Permission, please?

[nggallery id=1]click to enlarge

Remember the days when if you owned the land, you could build about anything on it? Well, those days were long gone before we were even born so once we got things down on paper, we had to endure the building permit process.

What we want to do is fast forward to the fun part – the steel-cutting- floor-polishing-room-decorating phase. Peering over the blueprints and filling out paperwork is a pain in the neck and a major enthusiasm buster. Unfortunately, there are forms to fill out, days to sit by waiting to see if you did it right, then redoing it right, etc.

Everyone who has ever built anything that needs approved wants to tell you their “Building Permit Horror Story.” Just going to the Tulsa County Annex, filled us with dread, but we lucked upon Supervisor Teresa who took a real interest in our project. We had been researching this for about 6 months and had drawn, and redrawn the plans so many times that it felt like we had already built a subdivision of container houses.

We had a small hitch in our plan after learning that the 7- to 14-day estimated permit process was going to be extended because we would need to get an official engineering report. So it was back to the drawing board as we called our architect friend, Grady Whitaker, who helped find us an engineer with the right credentials to meet the regulations needed for permit approval.

It was just a slight bump on our construction journey. On  09/09/2011, the Bright Container House was officially permitted to proceed.

More posts to come.