Design Decisions..

Since our house is starting to come together, Tyler and I started thinking about some of the interior design elements that we wanted to add to the house. Well, first we needed to design our fireplace/back wall, since we will be framing it up next week. We wanted our fireplace to be fun and not ordinary, but also something that had the mid-century modern feel that we love so much. When thinking of  a design, we remembered a fireplace that we loved at some family friend’s ranch home. It was a corner fireplace with no glass surround, and made with the ledge stone that is on many of the homes built in the 50s. So we took that idea, and modified the design to work within our space. Our fireplace has become sort of a corner fireplace, but with the actual fire pit more towards the middle of the wall and a four foot bench for outdoor viewing, or for our lazy cats to watch the birds… Okay that may sound confusing, so how bout I just show you a picture of the design we came up with:

Screen Shot 2012-07-14 at 8.26.56 PM

And since a living room isn’t quite a living room anymore without a TV, we had to figure out how to have a TV without placing it over our fireplace, and without it being the focal point of the room. So we decided to have a projector screen, one we can raise up when not in use. It will come down over the window above the fireplace bench. The window is a north facing window, so we are counting on sunlight not being a problem with the screen, but if it is we can just put some window tint on the windows to limit its exposure.

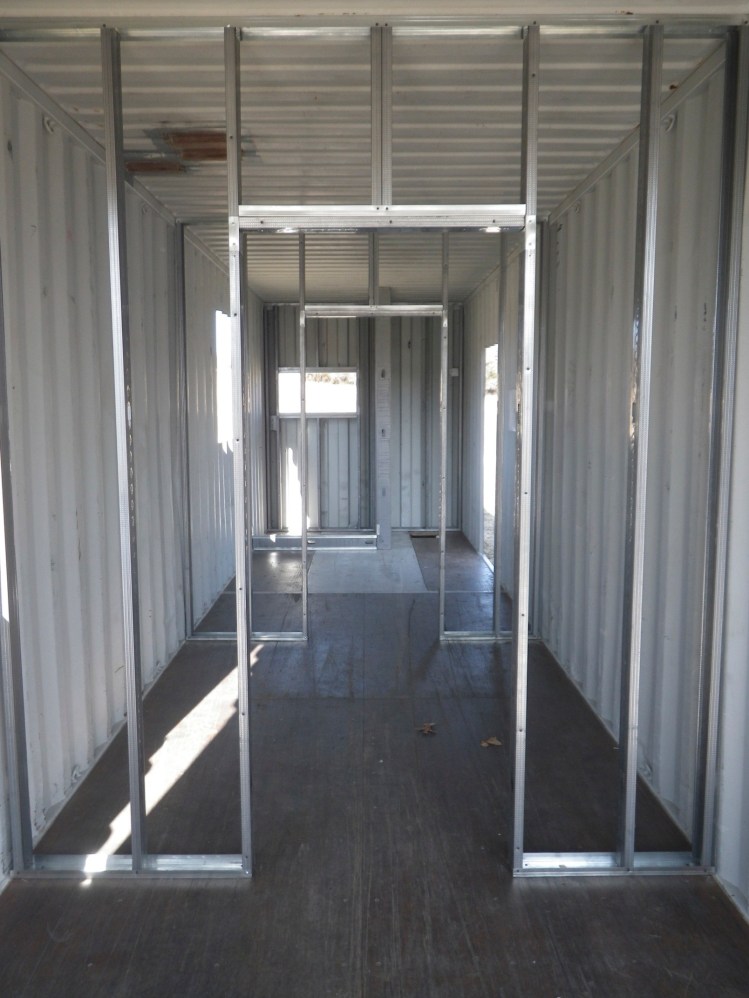
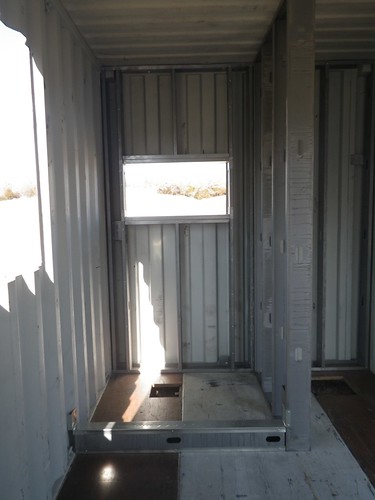
Some other interior elements we are currently working on, is our kitchen and master bathroom. I think we have decided on the cabinets for our kitchen, but we are playing with a few setups for our kitchen layout. One of the options is just to have sort of a galley like kitchen, and the other is to make it a L shape kitchen with a smaller bar. We can’t quite decide. Some other things we need to pick out is our bathroom tile/vanity/sinks and so on. Lots of decisions need to be made, and these decisions make me nervous… because they are so permanent.

Some other house updates:

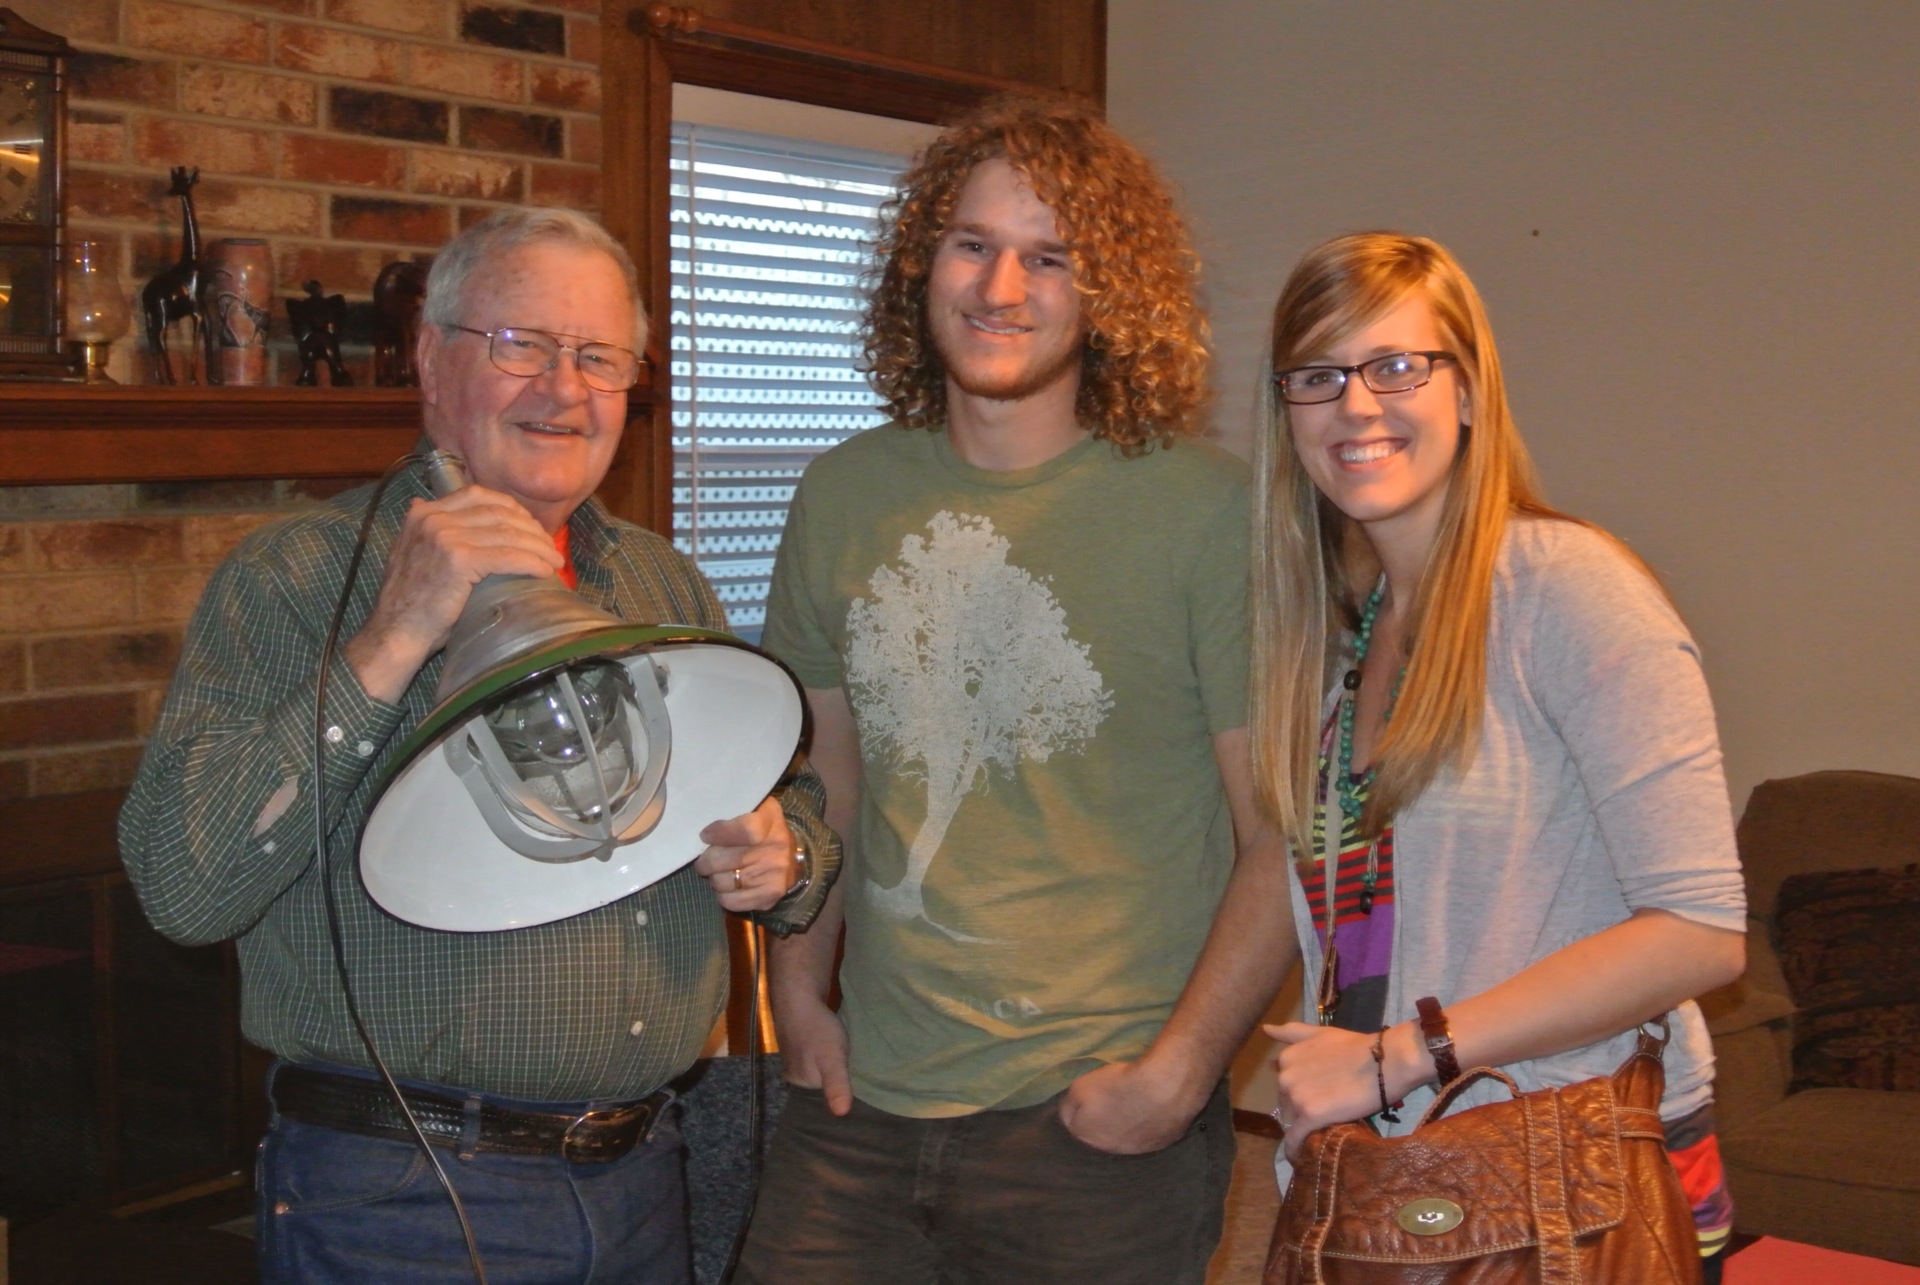
We hired family friend Matt Buller to assist in the house building, who is a long time carpenter. He is amazing and is going to be a tremendous help in getting us into our home quicker.

Advertisement

More Concrete.. and a Surprise Visitor

I KNOW, I KNOW… I’m slow at updating this blog, but Its only  been about 3 weeks since this progress occurred:

There was more concrete poured at the Bright container house building site, this time on top, and across our first containers. This new slab will become our deck, and will be the foundation for our next three containers to sit and be bolted onto. In order for the beams and the first two containers to hold the weight of the wet concrete, shores were put in place, lots of them. These shores will stay in place for a total of 28 days while the concrete cures. Here are some pictures of the process:

They first had to lay wire mesh and form up for the stairs and the edge of the deck.

Untitled

Untitled

Untitled

Then they put the shores in place:

Untitled

The concrete pump truck, and the concrete truck arrived and started working..

Untitled

Untitled

Untitled

Untitled

Untitled

Untitled

Untitled

And after all that work..

Untitled

Untitled

Untitled

During all this work Fox23 stopped by to interview Tyler and film some progress of our house. They said the story should air sometime in July, Ill be sure and post it when it airs.

Untitled

We are now currently working on putting up the stud walls on the house exterior, and I promise Ill try and post it as soon as we finish… but we will see…

Our Entrance

Here is a visual tour of our Front Gate process and completion (well.. completion for the moment). Enjoy 🙂

Tyler and Kent first cut, welded and created our gate:

IMG_2033

I then painted it:

IMG_2043

We “groomed” our wild grass:

IMG_1434

and made flower beds for each side of the gate:

IMG_1433

The left side:

IMG_1478

and the right side:

IMG_1479

We then dug a trench and ran water and sprinklers to each flower bed:

IMG_2414

IMG_2417

IMG_1487

Then we layed sod:

Untitled

Untitled

and then ran sprinkles to water the sod

Untitled

and now to my favorite part.. our mailbox, up and open for business!

Untitled

and after a hard days work …

Untitled

Coming up next: More concrete and Fox 23 news coverage!

I know right… Finally.

I can’t believe it’s been almost two months since our last house update!

That doesn’t mean work hasn’t been done, just that the progress had slowed down while waiting for our beams and decking to arrive. Since our last update we have made strides in our cabinet project, our entrance and on our house. UPDATE: Our kitchen cabinet project has now become our mudroom/laundry room cabinet project. We decided due to the smaller size of the vintage cabinetry, to go with new taller cabinets in the kitchen to fit in with the scale of our tall ceilings. The vintage metal cabinets will still be a mint/pistachio green color, and I am still so excited to have them finished and installed. (I think I’ll have to live in our mudroom to make all the time and hard work we spent on them worth it.)

 Here’s a sneak peak of the cabinet project: (post coming soon)

IMG_1394

IMG_2348

and another sneak peak of our entrance: (post coming soon)

IMG_1433

IMG_1481

 Here’s a run down of the recent house progress:

After the containers were set, which we showed on our last post here: Container Movement, they were anchor bolted to the slab. The bolts were epoxied in place and angle clips were welded to the containers. Support columns were cut, welded and then bolted into place.

as seen here:(These columns will be housed in the drywall.)
IMG_1464

These columns were put in place to help carry the load of the flange beams that were placed perpendicular across the top of the bottom two containers. The beams are 16×28 wide and were used to support the second floor slab and the top three containers. After the beams were placed on top of the containers, lots of welding took place, and thanks to Kent, Tyler, Grandpa Charley and family friend, Larry Yates, we were never short of help with the welding. Here are some pictures of the beams and the process:

IMG_1404

IMG_1403

IMG_1423

IMG_1424

working late into the night:

IMG_1427

IMG_2392

IMG_2364

and never forget to sign your work…

IMGP0039

After the beams were placed, the next step was to install the metal decking, which will act as our first floor ceiling, as well as support for the upstairs concrete. And since our major contributor (Kent) was out due to shoulder surgery, we hired out help for the decking. The night before the decking guys were to arrive, Kent and Tyler realized they needed to engineer some kind of support for the staircase. We hadn’t even decided what type of stairs we wanted to do. They came up with a plan and got to work Saturday morning around 5:30 am cutting and welding support beams before the decking guys arrived (Kent’s physical therapy for the day, although I don’t know if the Dr. would have approved).

It was a long day, but the decking is up, and almost complete, just some welding needs to be done, and the stair case opening needs to be cut. Our house, finally is looking like a house.

Here are some pictures of the decking/ceiling installation and completion:
IMGP0043

IMGP0044

IMG_2405

Showing the ceiling height in our dining/kitchen/living room areas:

IMG_2412

More updates on their way!

Update Coming Soon!

I know it seems like its been forever since our last post, but don’t you worry, work has not ceased…

Since our blog has been a little boring these last couple of months, and it will still be a few days before I get a full post up,  I will do a mini update. This one will be all about our DIY (well how bout.. design it yourself”) mailbox.

We purchased a plain white locking mailbox, one just like this:

We chose it: 1.) because we wanted a locking mailbox  2.) we wanted one with more of a “modern” look than a regular ol’ box and 3.) we chose a white one because I wanted to paint the outer casing a funky color to give our entrance some visual appeal.

Instead of painting it we decided to go ahead and wrap the outside with vinyl, so we took it to our local sign guys, at Sign It! and picked out a color for our mailbox wrap, and a font for our numbers. And here is how it turned out… (I think its pretty nifty)

We have been working on our entrance, possibly laying sod tomorrow, so hopefully there will be a blog update for our finished entrance as well! Keep checking back, I think the blog will be back in full swing soon with lots of updates and progress! Thanks for following!

Container Movement

As I mentioned in my last post, the first two containers are now officially on the slab! As quick and easy as that was to say, the task wasn’t quite as fast or as simple.

It was a multi step process that lasted from 7:30 in the a.m. till dark. With lots of help from family and friends our bottom story is coming together. A special thanks to those valuable helpers: Grandpa Charley, Fred Hill, Larry Yates, Keith Kelley, Steve Waller, Mark Mcguire, Wade Leslie, Sheilah Bright for capturing our moments on film, and of course our MVP Kent Bright, who makes this project possible.

The first step in the process was to rotate the containers on their side and spray foam the bottom. Yet again, a lot more difficult than it may sound. In order to place them on their side, we needed two crane trucks, thanks again to Fred Hill for getting those for us. The crane trucks were located at one end of the container and hooked onto the container so that it would rotate when lifted. Here are some pictures to show the process:

1…

_DSC9306

2…

_DSC9299

3…

_DSC9250

Once the containers were on their side, the next step was to spray foam the bottom, which adds more insulation between the containers and the slab. Tyler geared up and was ready to go. And, just our luck, the nozzle was broken, and the spray foam went everywhere, including on our brand new car, the camera and in mine, Tyler’s and Fred’s hair. It took a couple of showers before it all came out of my hair, and as Tyler said, it looked like I had large lice. The spray nozzle was replaced and all was good to go. Tyler sprayed a couple layers on the bottom making the spray foam an inch thick.

Here is Tyler geared up and ready to go:
_DSC9262

The moment everything was foamed…
_DSC9264

_DSC9291

All finished:
_DSC9293

The containers were then rotated back to normal position and placed on our modified container trailer. They then drove the containers to the build site, and maneuvered around the trees, until it was ready to be picked back up by the crane trucks. Getting the large equipment close to the slab proved to be tricky. With lots of trees and small passageways, they had to be creative to keep from damaging any trees. The crane trucks were placed opposite of each other on either side of the slab. In order to get the trucks close enough to the slab a hole had to be dug for one of the trucks to fit in, and on the other side a ramp was built.

The first container on its way to the slab:
_DSC9317

The container was then lifted and adjusted above the predicted destination. The container had to placed on the slab within less than half an inch, since there were cut outs for some of the conduit and plumbing that were on the slab. The first container went fairly smoothly, the second… not so much. Some conduit was broken off, which isnt too big of a problem, and it took quite a bit longer and needed additional cutting before it could be placed completely on the slab.

Preparing to lift the container and move the trailer underneath it:

_DSC9335

Place Container Here:

_DSC9290

Tyler helping guide the container to its mark:

_DSC9345

Grandpa Charley manning the other side:

_DSC9342

Here is a picture to show just how precise the container had to be placed.. not even an inch from the plumbing and downdraft vent:

_DSC9347

Multipy all these steps by two, and you have one full and trying day. All the hard work paid off though when both the bottom containers were set on the slab.  Here they are:


Entry/Mudroom/Office

A lot has happened since our last post, including: finishing the walls and cutouts in our second container, and the most exciting news, the first two containers are now on the slab! This post though is going to be a quick update about all the work that went into our second container.

This second container proved to be a little more time consuming, mainly due to the fact that it was in worse shape. In addition to cutting out the openings, power washing and building the walls, that our previous container endured, which you can see here, this container also required heating and beating out dents in the walls, removing stains from the floor, and sanding down the floor since it was in such bad shape.

The first step to finishing this container was to heat up badly dented parts of the wall, with a torch, and beating them out with a sledge hammer. This process was very loud and apparently dangerous. Multiple fires broke out, and there were some casualities. Two hoodies actually, and the front of Tyler’s pants (that picture is a little inappropriate for some viewers, so it will not be shown).

Here are Ben and Tyler’s hoodies after about 2 seconds:


The next step was marking out the openings and then cutting them out with a plasma cutter. Here are some pictures of all the openings.

The opening on the left is our office doorway, and the opening on the right is the pass through from our entryway into our main living area, which includes our dining room, kitchen and living room. The office and entry doorways were framed out with two inch square tubing which you can see here.

_DSC9238

(From left to right) A large window in our entry, the mudroom window, and two slitted windows in our office, which will be above our book/record shelves.

_DSC9229

This will be the window above our desk in our office.

_DSC9231

After the cut outs were finished the next step would be to power wash, but since the weather had been cold and rainy we delayed that until we finished the walls. And I missed the oppurtunity to capture Tyler in his “hazmat” suit, that I had to wear for the previous container, (but maybe Ill get him next time). Here is a view of the walls from our front door: and also a picture of how useful I am in this building project:

_DSC9232

(I think I was close to sleeping here)

For the walls in this container we used 6 inch studs for the front and mudroom door frames, to add additional support, since we are using a old heavy wooden door for the mudroom. 4 inch studs were used for the remaining walls. The first door way is the front door, which will enter into our entry way, the mudroom is next, and then the utility room. At the far end of the container is our office. In our entry way we are going to install this great light Tyler’s Grandpa Charley refurbished for us pictured here:

In our mudroom I plan on using some of the vintage metal cabinets I talked about earlier here, and painting them a pistachio green, (I know what your thinking, gross), but I have a vision and I think it will turn out great. I got my color inspiration from my pistachio green kitchen aid mixture, which looks just like this:

So there you have it, our second container. Check back soon for our new post about how our containers made it to the slab!

In The Meantime

The Sand Springs Leader wrote a great article about our container house last Thursday. If you missed it, here is the link!

http://sandspringsleader.com/news/being-sustainable-in-sand-springs/article_1eb040f6-58b4-11e1-978a-0019bb2963f4.html

Also, a post about our recent progress is in the works, but due to slighlty colder and rainy weather, most of the work took place inside the shop, which means no pictures to go along with the post. Our newest container was also in a little rougher shape than our first, so some extra steps had to be taken to finish it out. That updated post should be up this week, which will include, cut outs and walls inside our second container, and hopefully news as to when we will be placing them on the slab!! So keep checking back.

In the mean time…

Since I haven’t posted any pictures of the property yet on our blog, I thought I would do so now.

Bright Container House

Bright Container House

Bright Container House

Bright Container House

_DSC9224

And Then There Were Walls

What’s a house without walls? Ours in this case would be a cut up shipping container not fit to live in. But with a little hard work and some metal studs, a shipping container becomes a home.

The walls were installed over a few nights, courtesy of Tyler and Kent Bright, and with a little help from our friend Ben Belden. Our first container now has the bones of a true house, and the final product is now becoming visible. The walls were installed for our closet, our shower, and the end wall where the original doors were removed.

We used metal studs, not only because they are stronger and straighter than wood, but they are 100% recycled, and 100% recyclable. Using metal studs will also give us fire protection, termite protection, and hopefully save a few precious trees in the process.

Now down to the nitty gritty..

We used 3-5/8″ studs for all the walls in our master suite, besides the bathroom, where we used 6″, to leave space for the bathroom plumbing.

Here are our shower walls:

IMGP9226
The hole in the floor will become our shower drain, and the floor in the entire bathroom will be tiled over.

His and Her walk-thru closet:

IMGP9229

The walls in our closet will be metal as well as the ceiling. To finish it out we will put a nice coat of paint on the walls, add some closet storage and refinish those awesome teak floors. We will also install a $5 vintage light fixture we picked up at the flea market this weekend.

The master bedroom (the truck will not be our view from our newly framed out window):

IMGP9230

There was also a hole cut in the bathroom floor for the toilet, and I know you really want to see it… so here it is:

IMGP9228

So there you have it, we officially have walls in our master suite!

There is still a lot of work to be done on this container, including cutting holes for the HVAC system and also the finishing touches, such as: drywall, refinishing the floors, tiling the bathroom floors and shower, installing bathroom fixtures and painting the walls and ceilings. But those will not be completed until the house is “dried in”, which will be after all 5 containers are placed on the slab and connected. But for now this container will probably not be mentioned again until it is on the slab!