

A lot has happened since our last post, including: finishing the walls and cutouts in our second container, and the most exciting news, the first two containers are now on the slab! This post though is going to be a quick update about all the work that went into our second container.
This second container proved to be a little more time consuming, mainly due to the fact that it was in worse shape. In addition to cutting out the openings, power washing and building the walls, that our previous container endured, which you can see here, this container also required heating and beating out dents in the walls, removing stains from the floor, and sanding down the floor since it was in such bad shape.
The first step to finishing this container was to heat up badly dented parts of the wall, with a torch, and beating them out with a sledge hammer. This process was very loud and apparently dangerous. Multiple fires broke out, and there were some casualities. Two hoodies actually, and the front of Tyler’s pants (that picture is a little inappropriate for some viewers, so it will not be shown).
Here are Ben and Tyler’s hoodies after about 2 seconds:

The next step was marking out the openings and then cutting them out with a plasma cutter. Here are some pictures of all the openings.
The opening on the left is our office doorway, and the opening on the right is the pass through from our entryway into our main living area, which includes our dining room, kitchen and living room. The office and entry doorways were framed out with two inch square tubing which you can see here.

(From left to right) A large window in our entry, the mudroom window, and two slitted windows in our office, which will be above our book/record shelves.

This will be the window above our desk in our office.

After the cut outs were finished the next step would be to power wash, but since the weather had been cold and rainy we delayed that until we finished the walls. And I missed the oppurtunity to capture Tyler in his “hazmat” suit, that I had to wear for the previous container, (but maybe Ill get him next time). Here is a view of the walls from our front door: and also a picture of how useful I am in this building project:

(I think I was close to sleeping here)

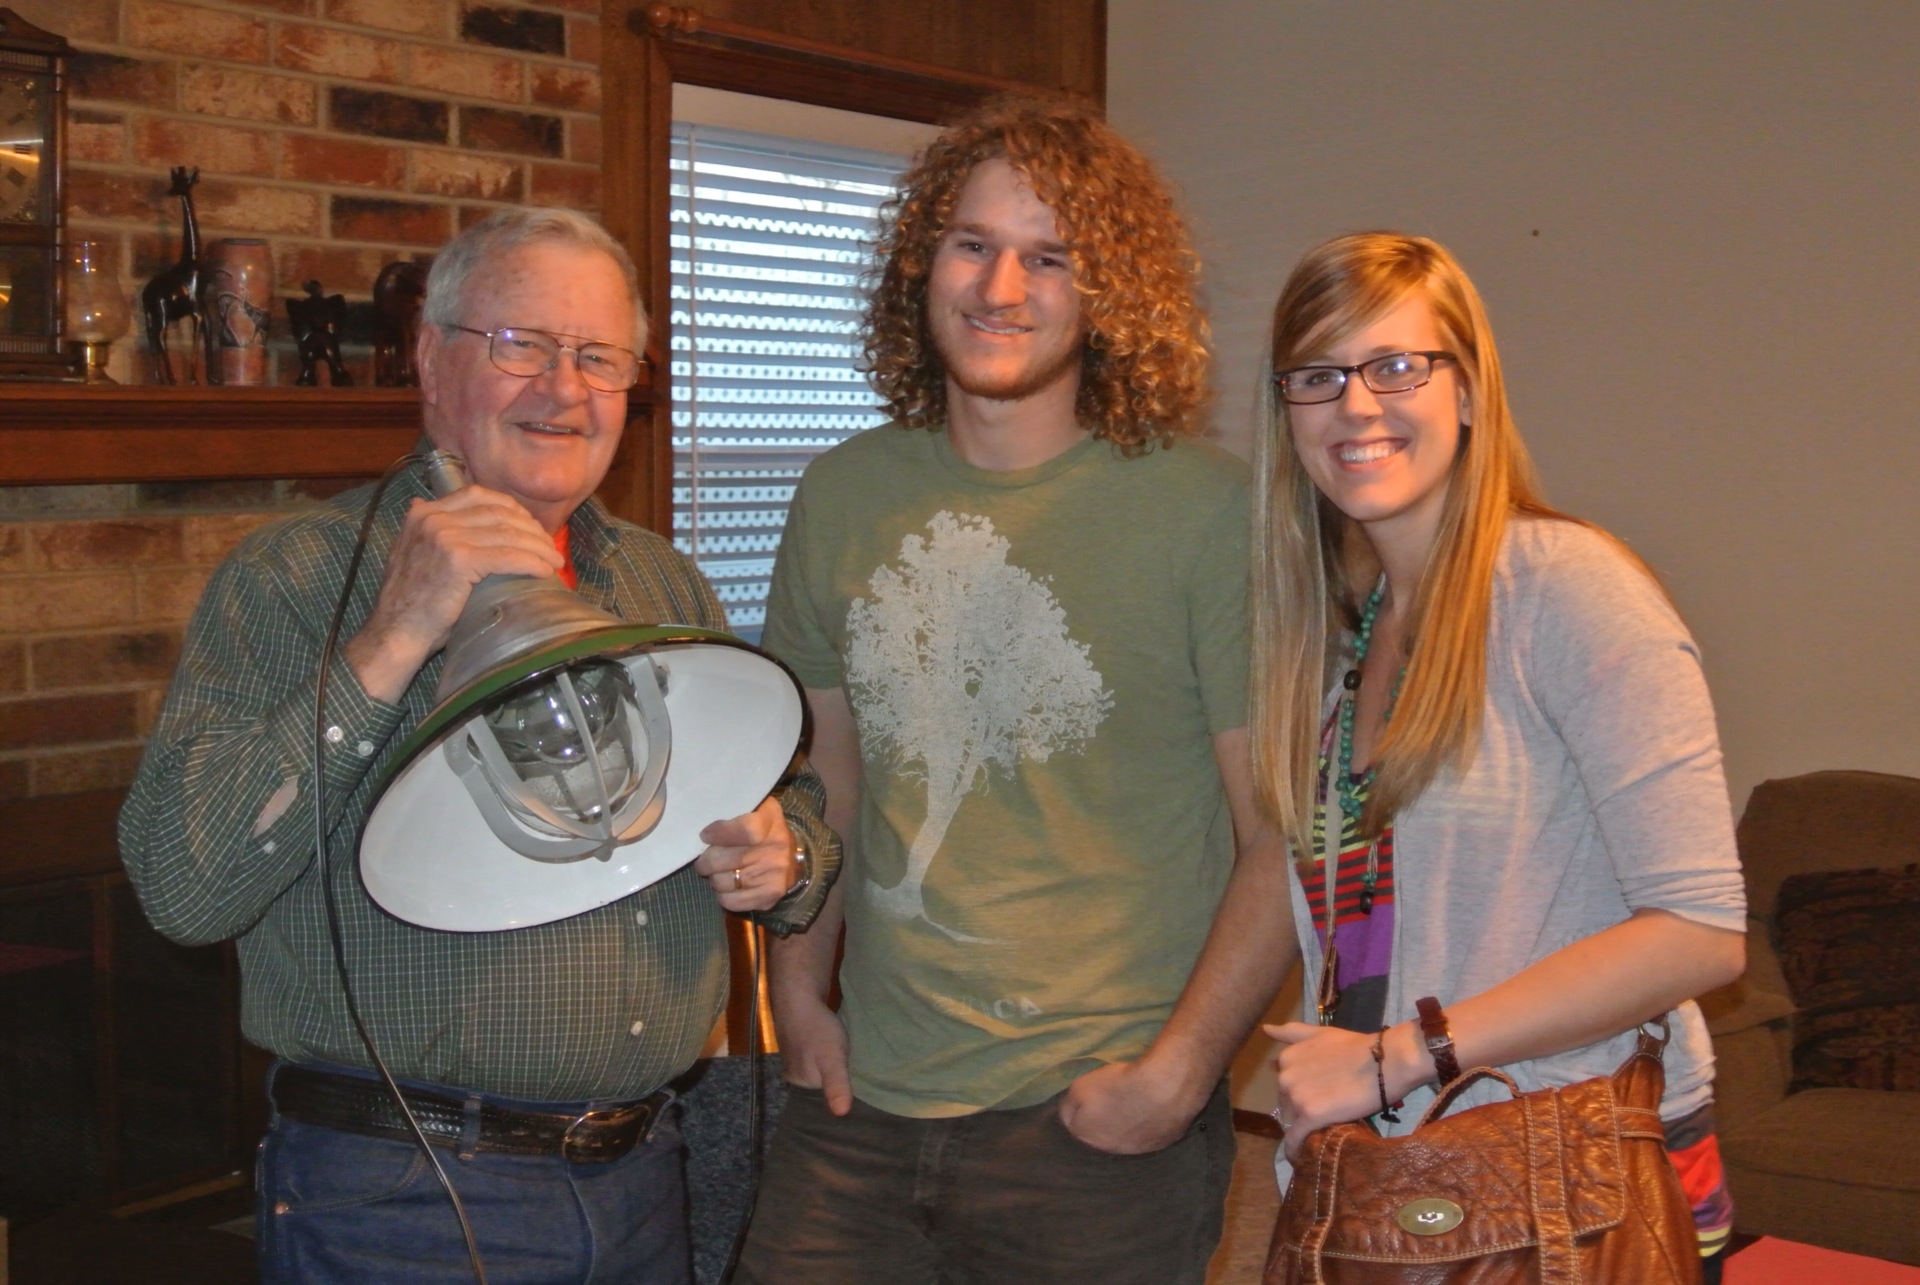
For the walls in this container we used 6 inch studs for the front and mudroom door frames, to add additional support, since we are using a old heavy wooden door for the mudroom. 4 inch studs were used for the remaining walls. The first door way is the front door, which will enter into our entry way, the mudroom is next, and then the utility room. At the far end of the container is our office. In our entry way we are going to install this great light Tyler’s Grandpa Charley refurbished for us pictured here:
In our mudroom I plan on using some of the vintage metal cabinets I talked about earlier here, and painting them a pistachio green, (I know what your thinking, gross), but I have a vision and I think it will turn out great. I got my color inspiration from my pistachio green kitchen aid mixture, which looks just like this:


Hello Hannah & Tyler
The project is looking good!
I converted a 20′ shipping container into a cabin last year (just a couple of miles west of your home) and had it moved to some recreational property in Osage Co. Container construction is a lot of work, but the finished product is worth the effort.
Have you decided how you will insulate your exterior walls? I’m sure you are aware of the tendency of containers to “sweat” on the inside. I was concerned that conventional fiberglass insulation would hold moisture and result in mold and/or rust, so, I had my cabin walls sprayed with foam insulation. The product I chose was soy based, so it would fit with your “green” build.
Good luck on your project, I’ll be following your progress!!
Mark
LikeLike
Hi Mark.
That is Awesome, glad to hear of other people near us building with containers! Also we have decided on an insulation, we are using a spray foam, called Foam it Green. We actually just sprayed the bottoms of the two containers we have, before setting them on the slab. Im not sure if it is soy based but that is something Ill have to look into for the exterior walls. Thanks for the comment, and thanks for following our progress!
LikeLike
Can’t wait until the next post! I’m just soooo proud of you guys & can hardly wait to see it in person.
LikeLike
Am anxious for the next post. I am soooo proud of you both and will look forward to seeing your new home in person.
Judy
LikeLike
Thanks Judy, and I am working on the next post now, so it should be up soon!
LikeLike