

Today’s tour is going to move right along into the mudroom, and then out into our dining room.
But before I begin, I still need to show you the other side of the entryway.
Don’t get too excited, its just our front door and a key holder.
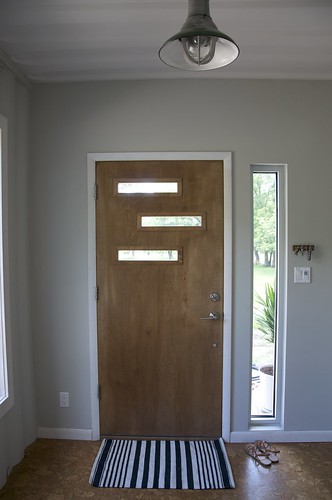
You can also see the light that Tyler’s Grandpa gave to us. Remember when he surprised us with it here?
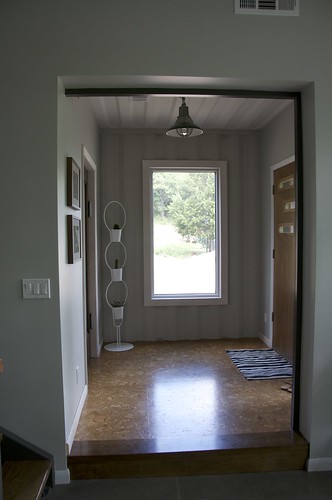
And one more shot of the entry- The lighting is bad, but here is what it looks like looking in.
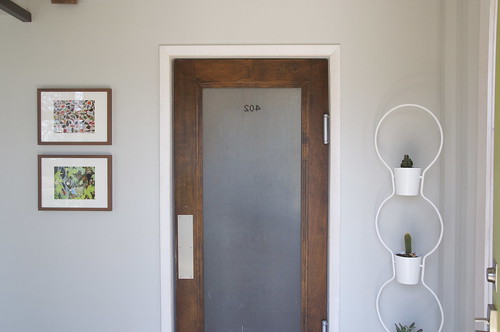
Moving further into our first container.. behind door number 402.. is the Mudroom
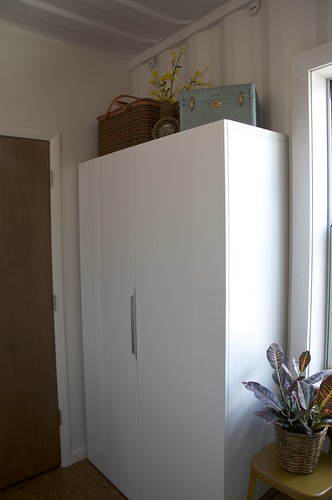
The mudroom has a ways to go before its complete, but here is a glimpse into where I spend the majority of life, as it would seem.

The wooden cabinet surround around the washer/dryer was handcrafted by Tyler and Kent this past week,
and remember that sink cabinet (click here)? I spent countless hours sandblasting that sucker. It obviously stills needs its drawers and doors, but we will get to that eventually.
This cabinet is from Ikea, and is wonderful, it is very affordable with lots of storage (which is important when your other cabinets are not installed, or are lacking drawers and doors)
Here is a close up of that surround Tyler and Kent made.. It not only looks good, but it is functional, it keeps all those loose socks and underwear from falling behind/beside the washer and dryer, and gives me a flat surface for folding laundry.

Still to do in the mudroom:
-Finish painting the metal cabinets
-install the upper metal cabinetry and clothes rail
-Touch up paint
-Finish painting window/door trim
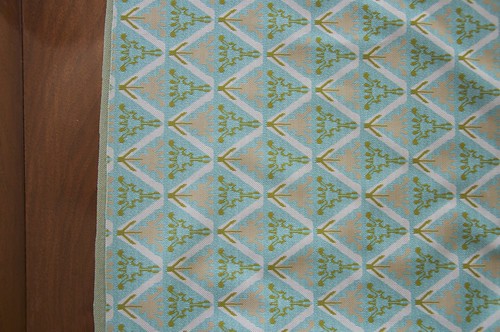
-Make some curtains, out of this vintage material:
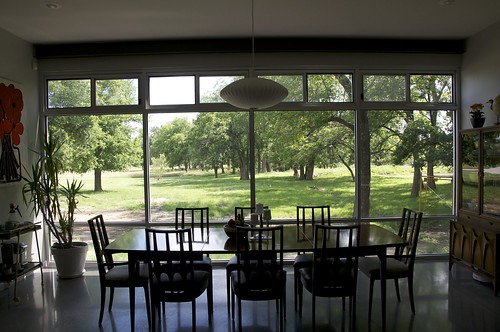
Moving right along into our dining room, its just a step away from the entry.
This is the view you see when you are in the entryway.
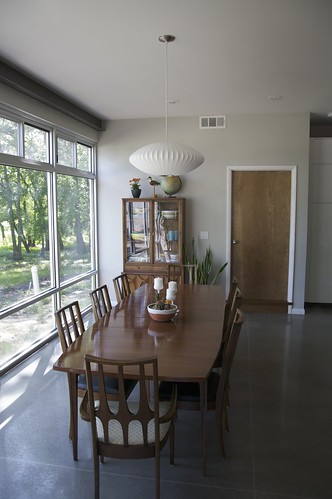
The table, chairs and china cabinet were a craigslist find, in need of some TLC. The top of the table at one time had been painted with some kind of thick paint, as well as the top of the china cabinet base. After lots of paint remover, and scraping I gave up and let a professional finish the staining and sealing.
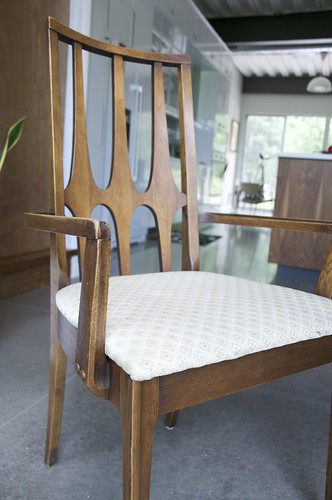
I tackled the chairs myself, with a little orange glow and some Howard Restore-A-Finish, the wood was looking pretty good. I just needed to reupholster the seat cushions. I chose a black vinyl, for looks, but also for easy clean up for when we have future kiddos. The captain chairs already had a good fabric on the them, I’m hoping original, so I left them be.
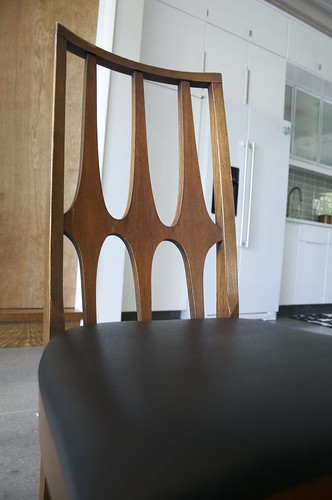
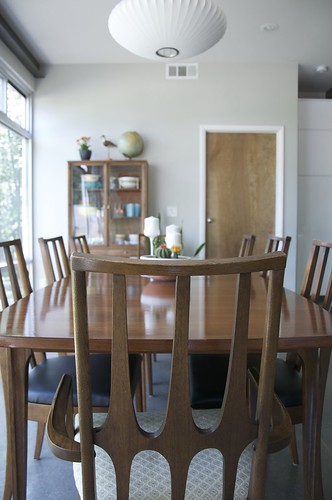
The dining room furniture is Broyhill Brasilia, with a date of 1961 on the bottom of the table. I just love the contrast of the dark wood with our light walls. It was a match made in heaven I believe.
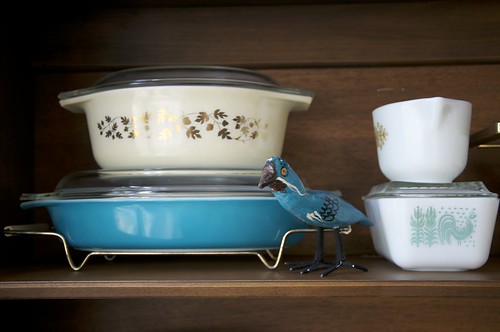
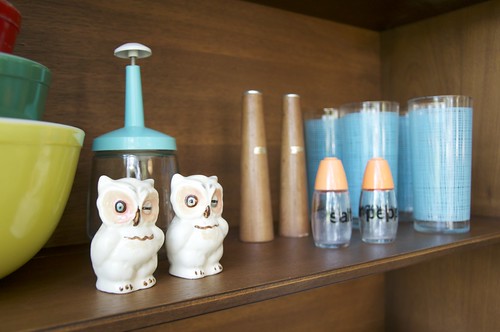
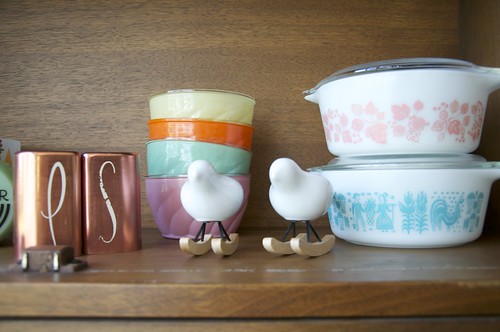
Our china cabinet is always filled with vintage goodies, changing with the seasons. Right now it is sporting some nice colorful Pyrex and some fun salt and pepper shakers.

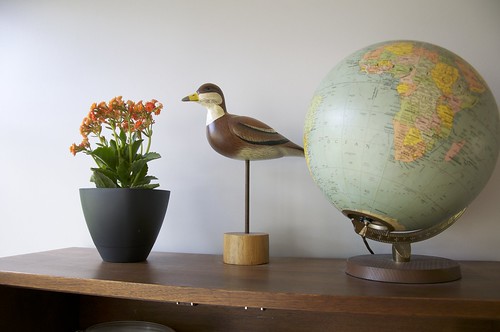
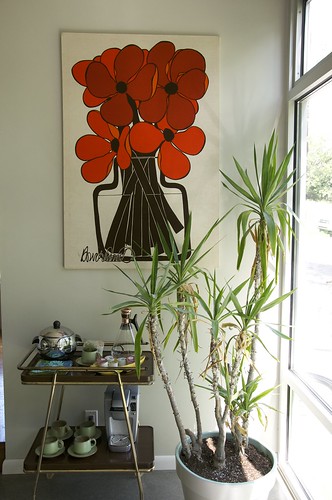
On the other side of the room, looking back towards the entryway, you will find a nice coffee bar, a retro wall hanging, and a plant that my family says is at least 30 years old, here’s to hoping I can keep it goin’
I wanted to show the view from the table, but the lighting makes it difficult to get a good picture, but here is my best shot..
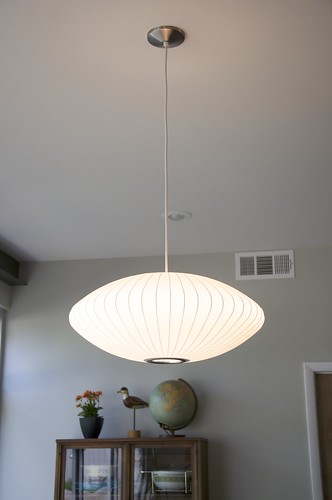
One last thing I want to showcase, is our George Nelson Bubble Lamp. Isn’t she a Beaut?
Still to do in the Dining Room:
-Touch up ceiling paint
-Paint door/wall trim
Next stop on the Tour: Our Kitchen.

It looks fantastic – and great styling! And what a terrific view you have from those big dining room windows. Very inspiring. Enjoying the tour so far – want more!!
Terry
LikeLike
Thank you very much Terry!
LikeLike
Hi Tyler and Hannah! I love the home tour pictures of your container home you guys uploaded .I am very interested in building one in the near future . Please mail me back at wongwkevin@yahoo.com because I would love to know more about the concept and how to go about it .
LikeLike
Hi Kevin! Feel free to email us questions at Hannahbright@me.com.
LikeLike